Replacing the thermal paste on a Beelink Mini PC
Beelink Mini PCs are amazing little machines, but they do have a bit of a reputation for dried-out or low-grade thermal paste, which can leave the fan overworked and the CPU throttling. So, why not roll up your sleeves, crack open the case and take a peek inside? You might just find a way to boost your little workhorse's performance!
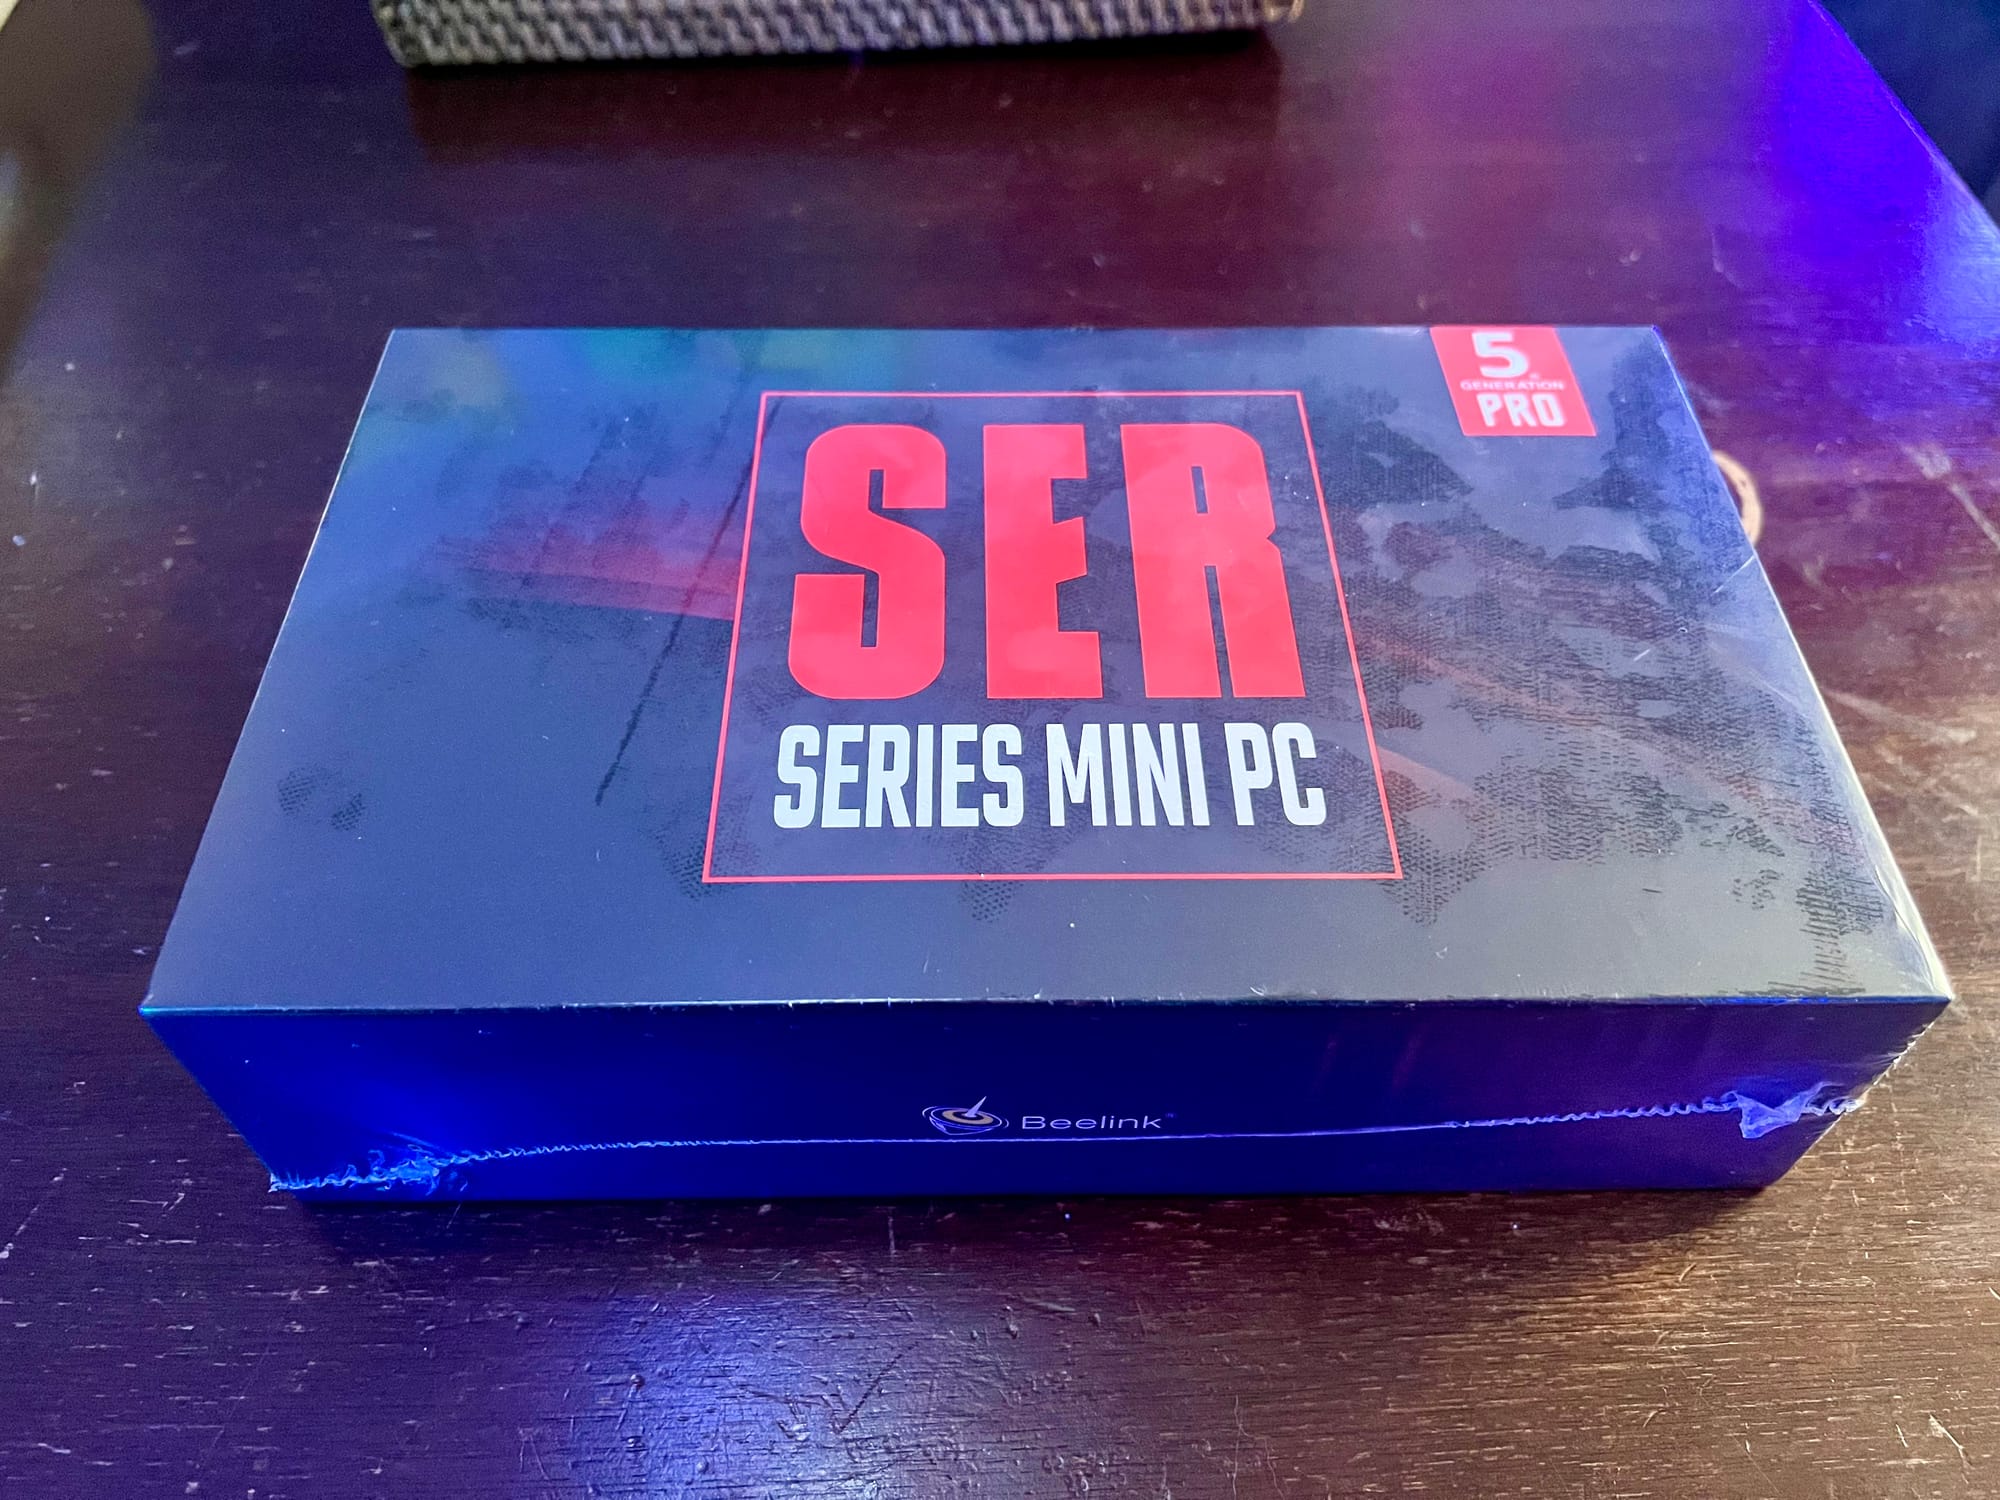
I'll be using a SER5 5700U as my example, but I've also done the same thing with an SEI12 1235U and a SER5 5600H, and the process for each one was pretty similar. So, let's get to it and see what we can do to keep your Beelink running cool and smooth!
Instructions:
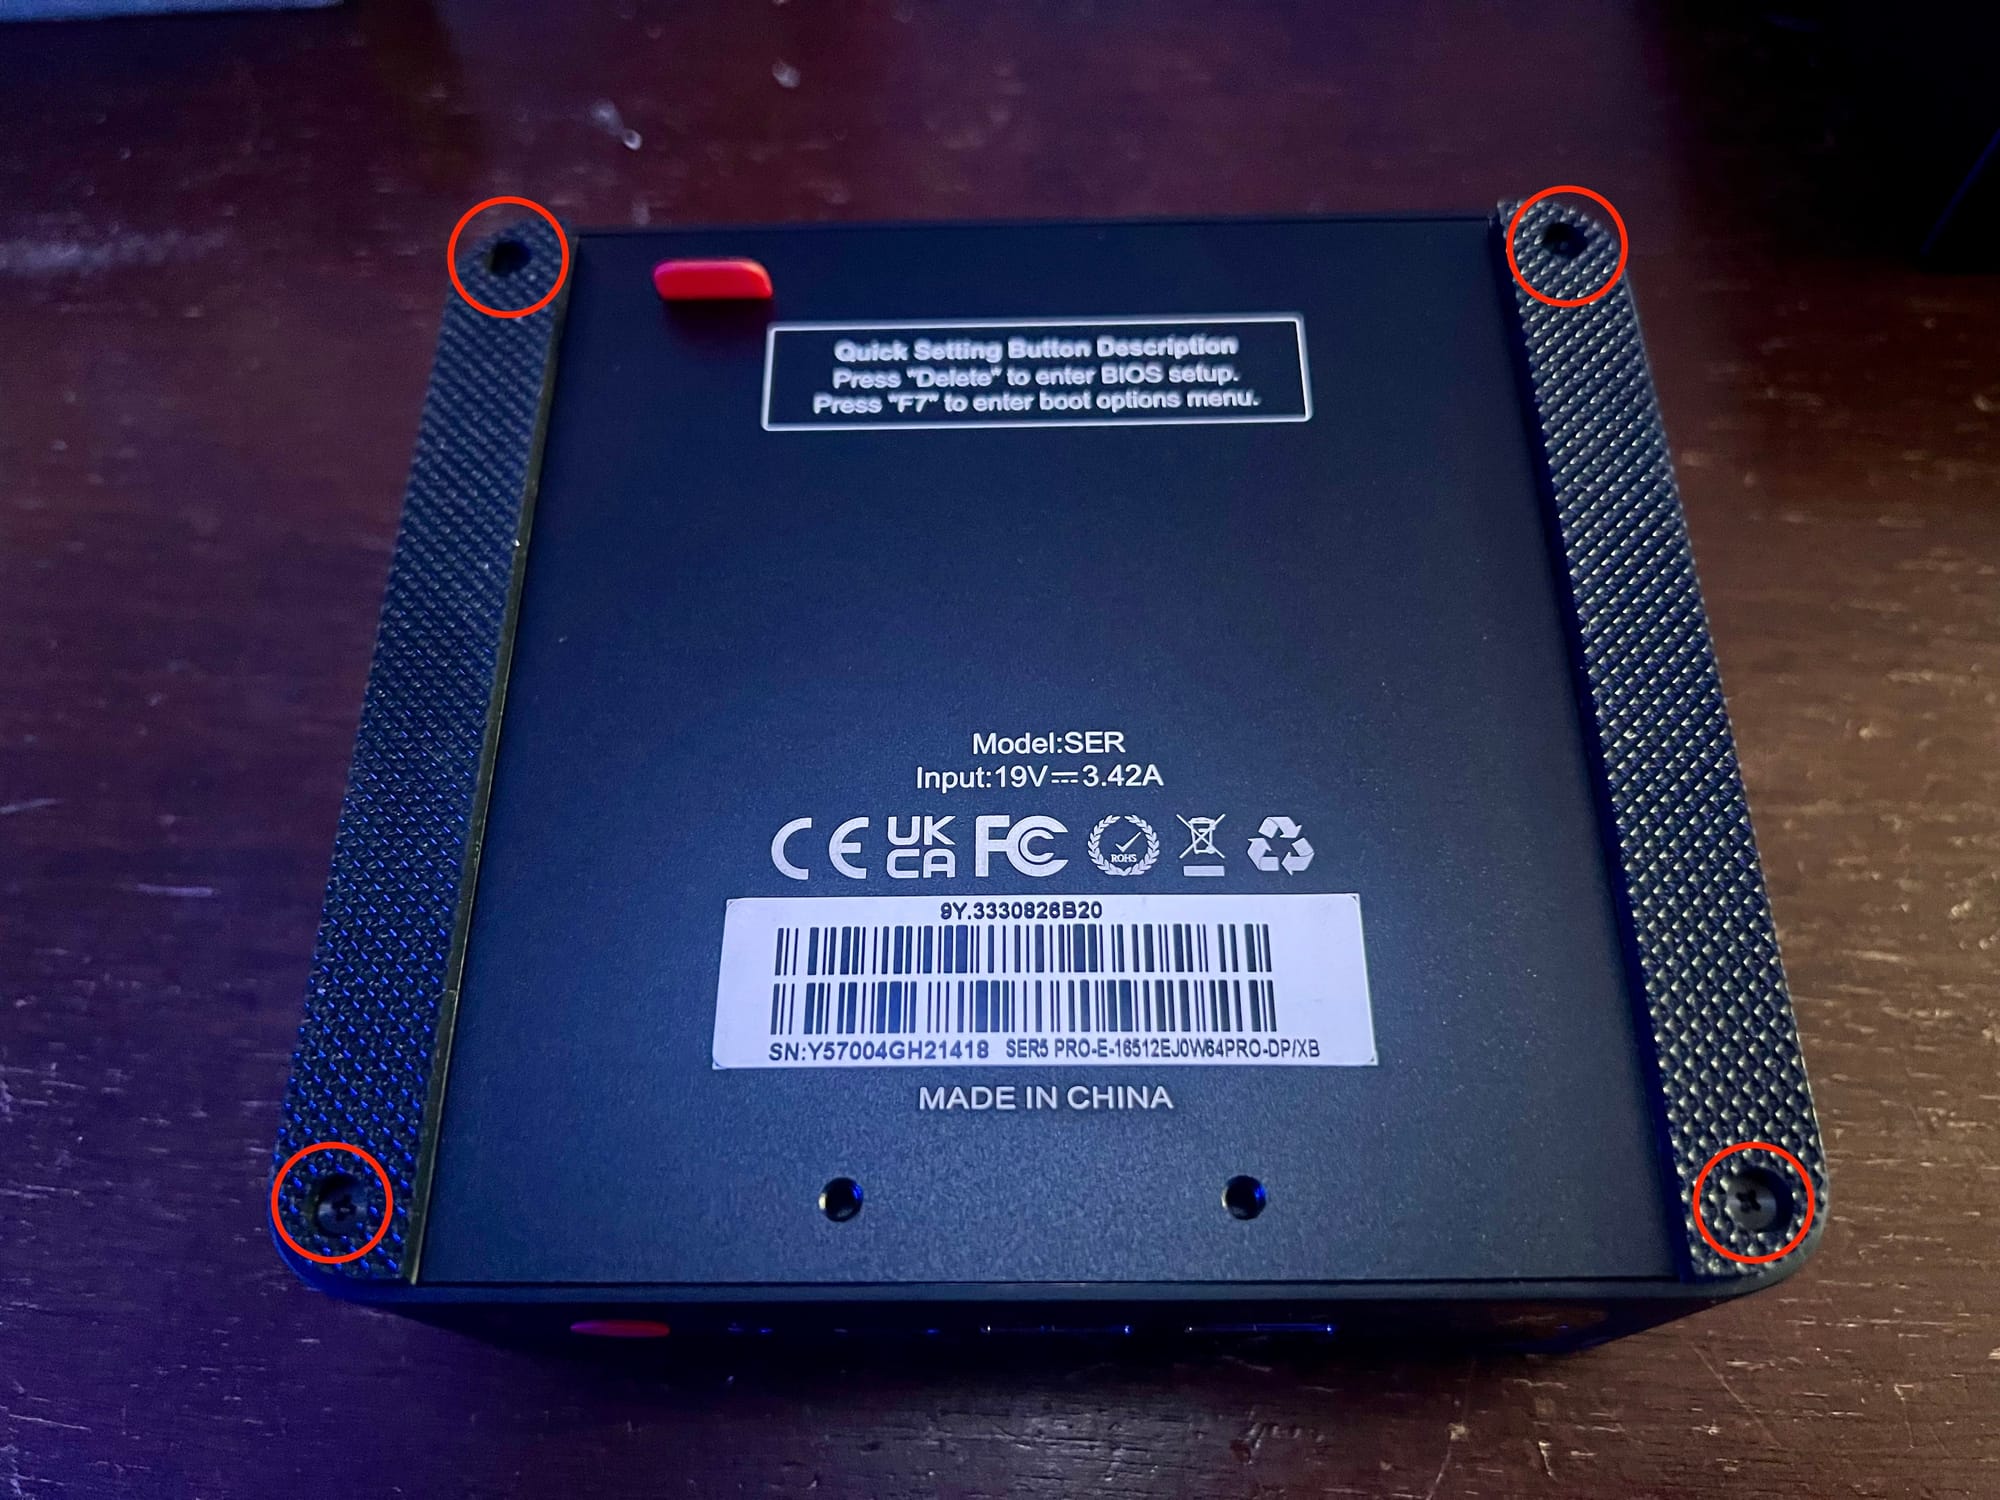
- Make sure your devices has been properly powered off and unplugged from power
- Remove the four screws on the underside of the case
- Remove the two diagonal screws that hold hold down this plastic tray
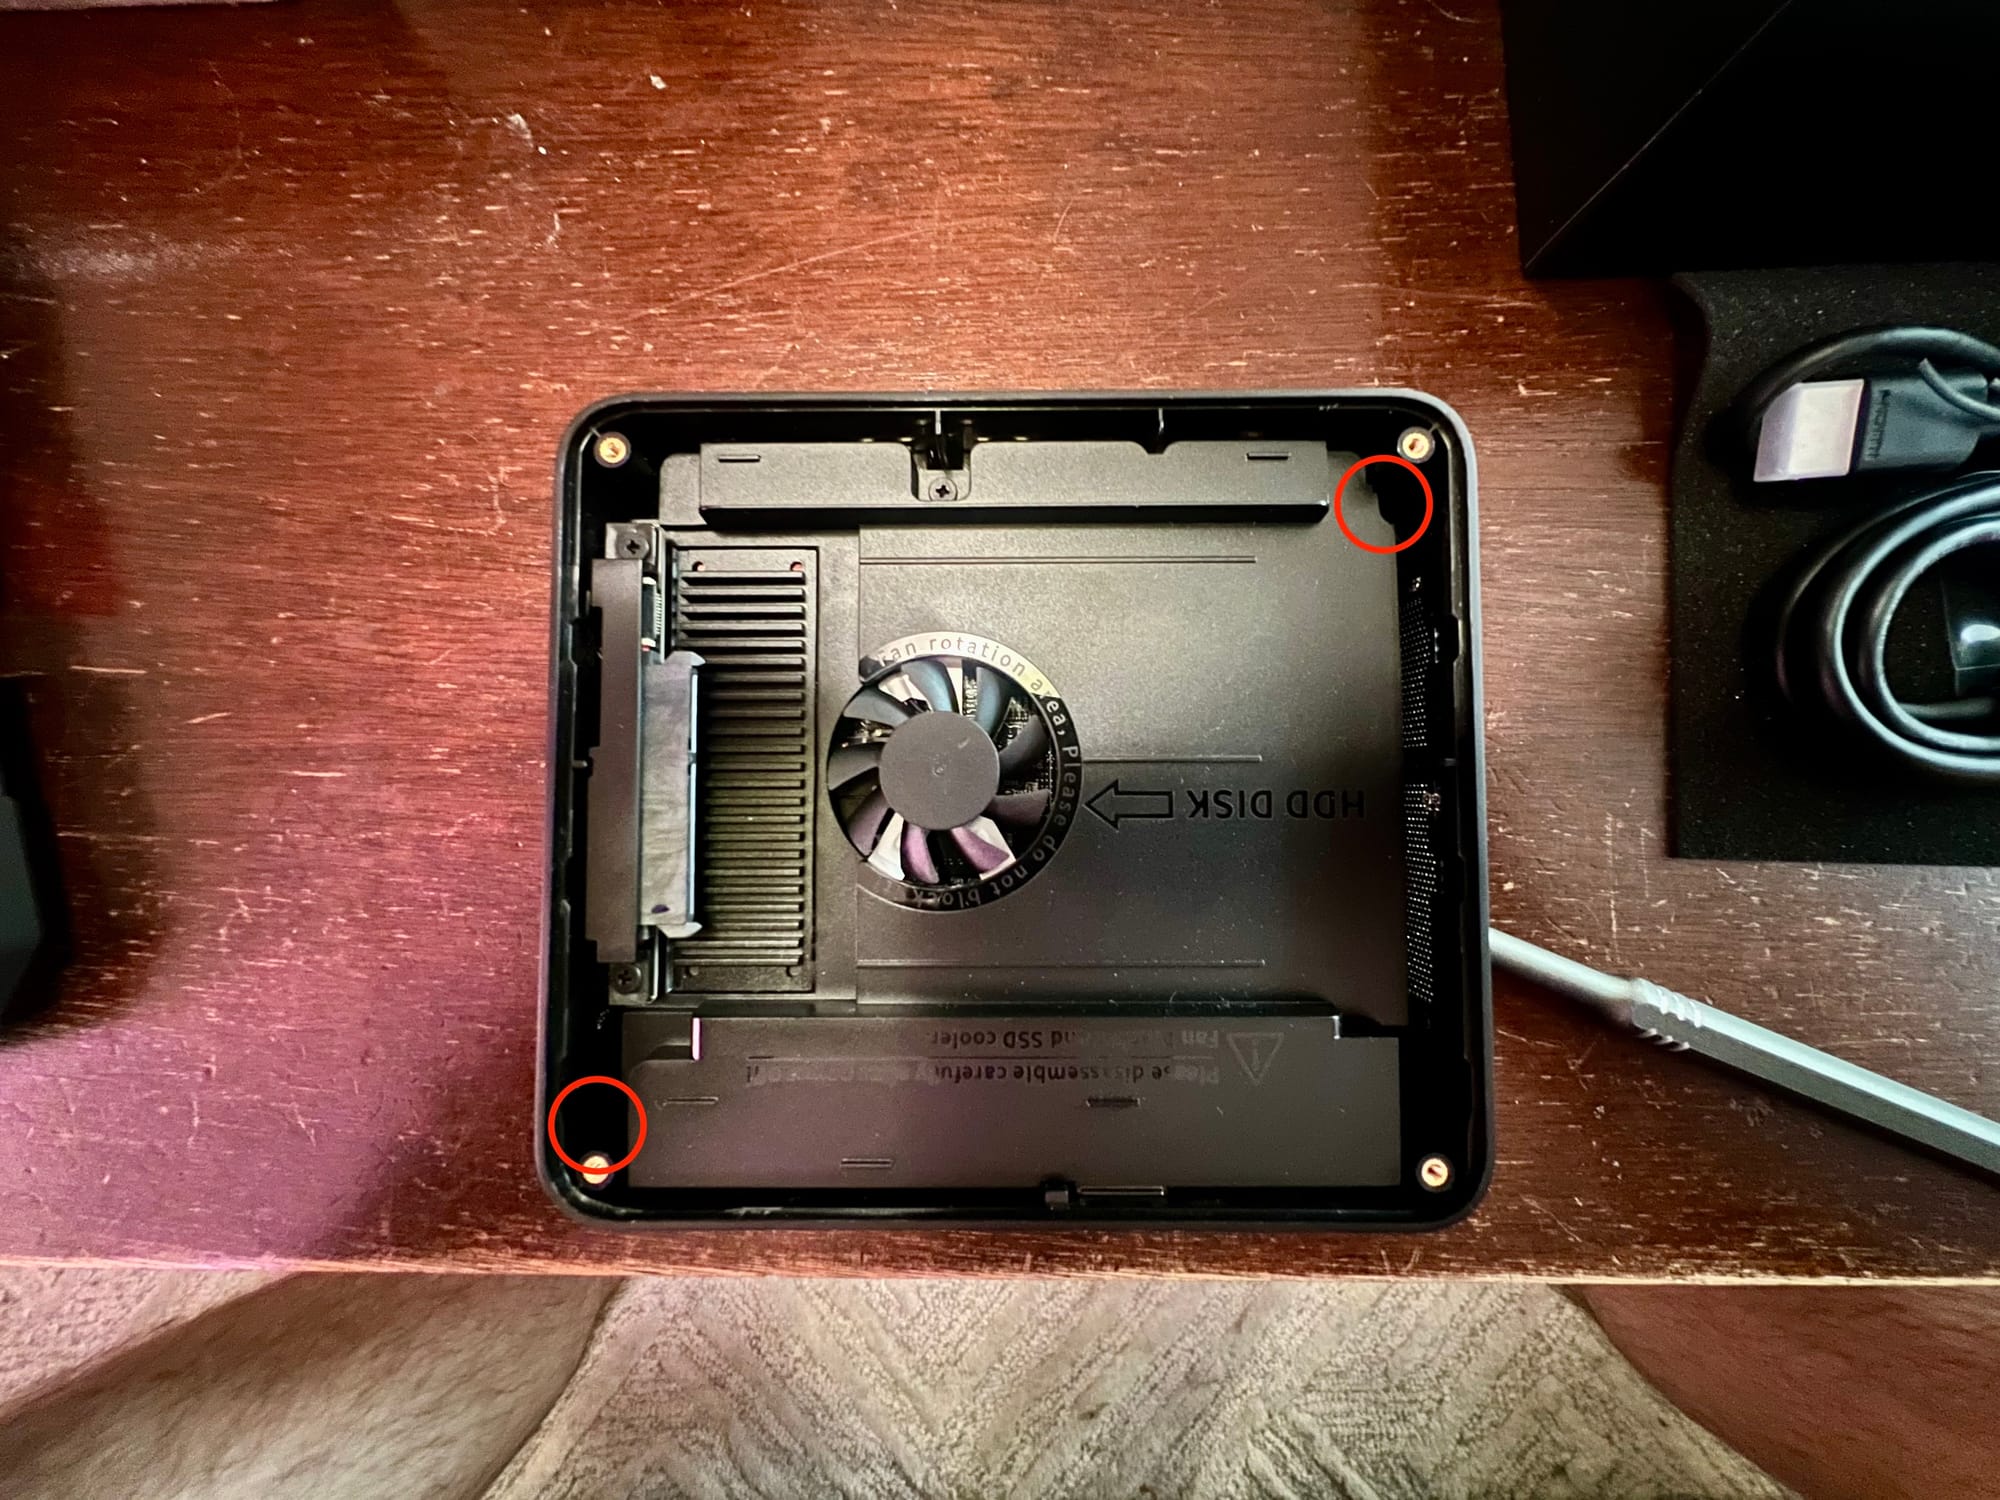
- Pull up the plastic tray, tilting it diagonally to prevent tugging on the two connected cables. You should now be able to unscrew the other diagonal screws that hold down the board
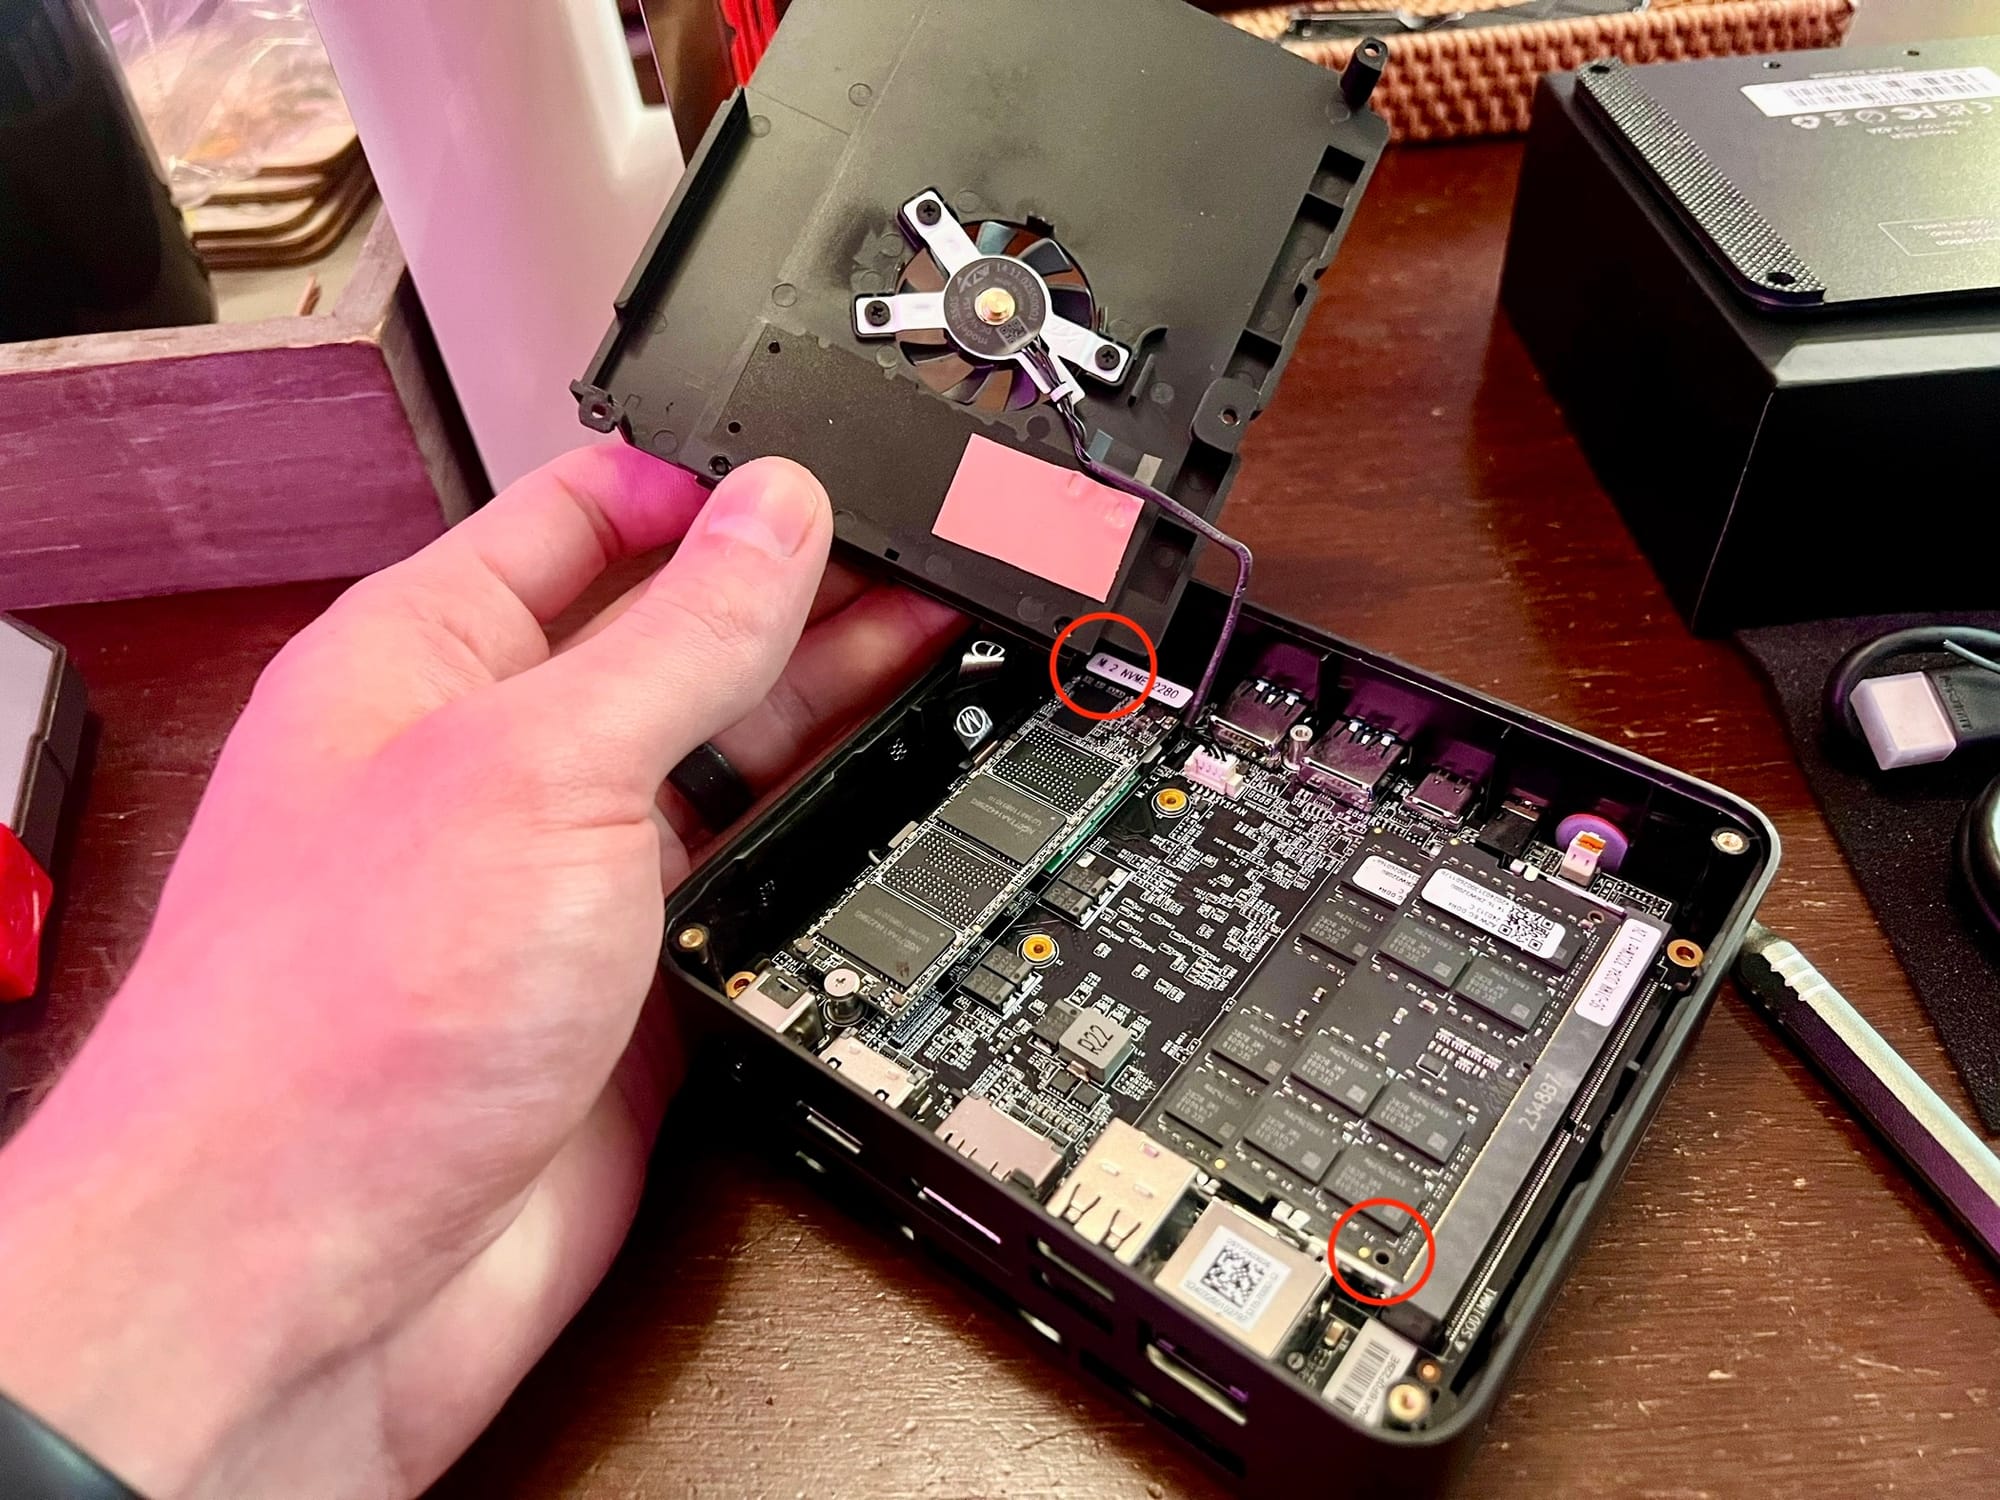
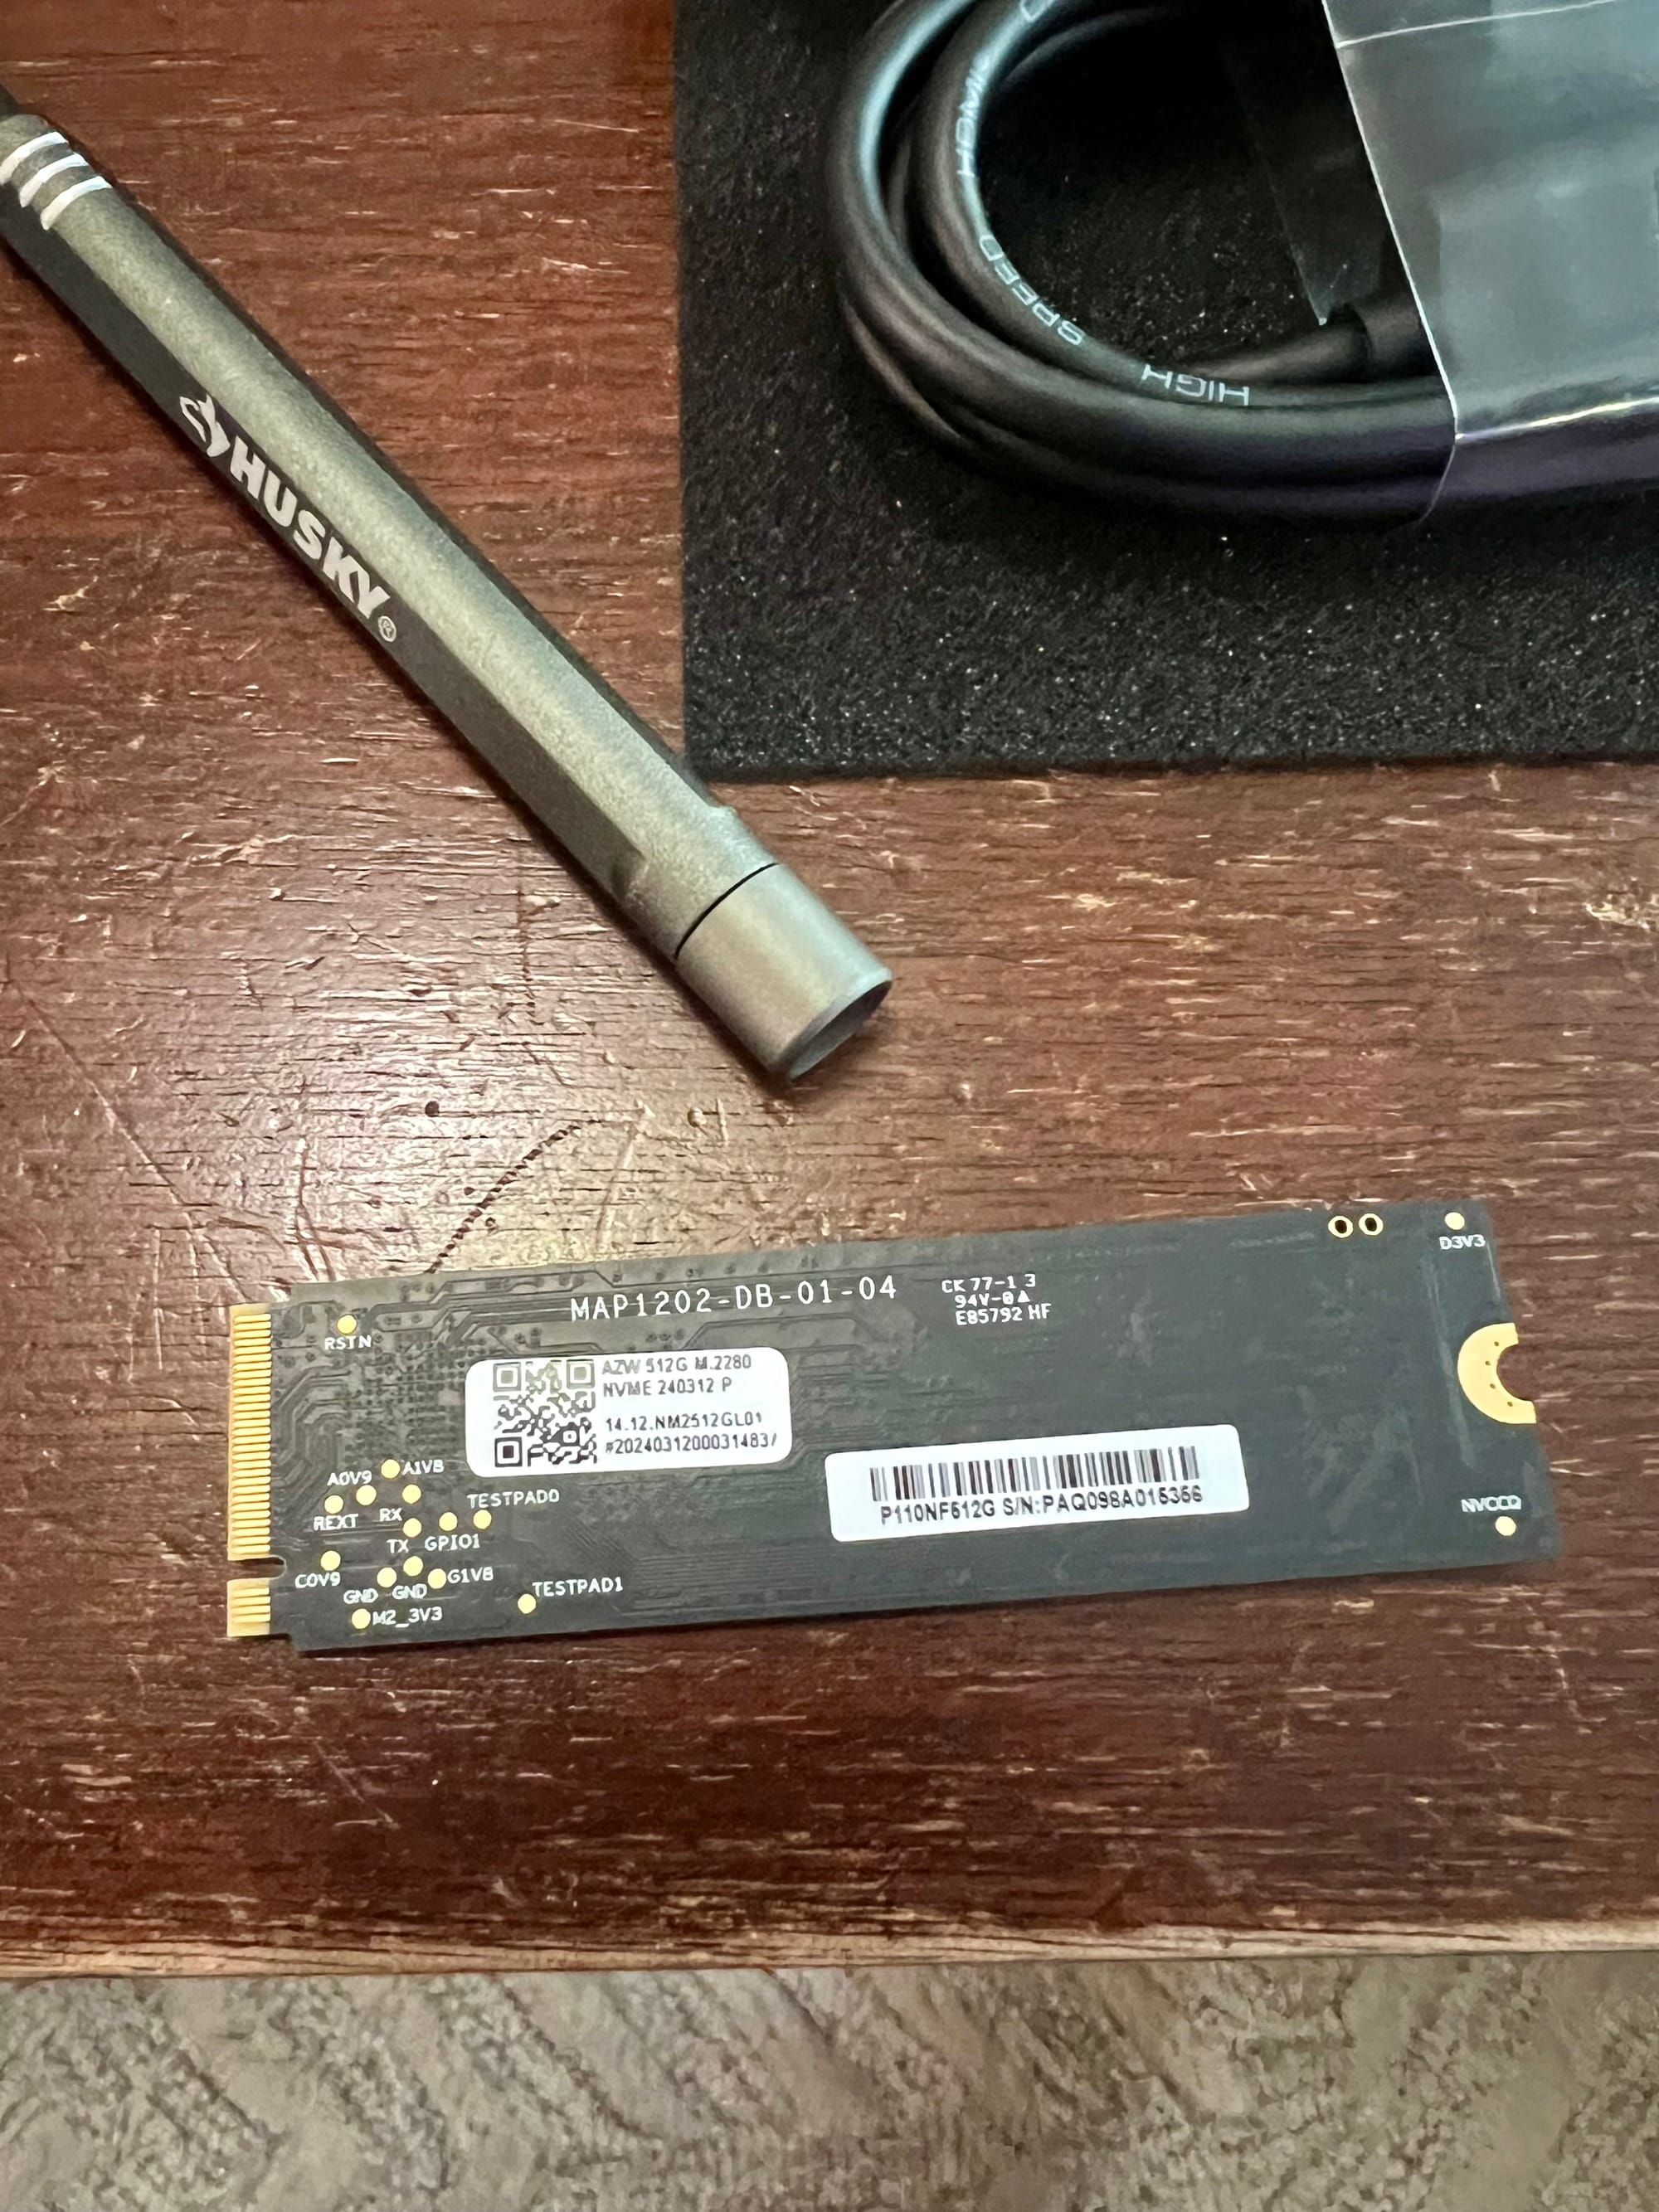
- Remove the silver retention screw that holds the NVME drive in place and eject the NVME drive
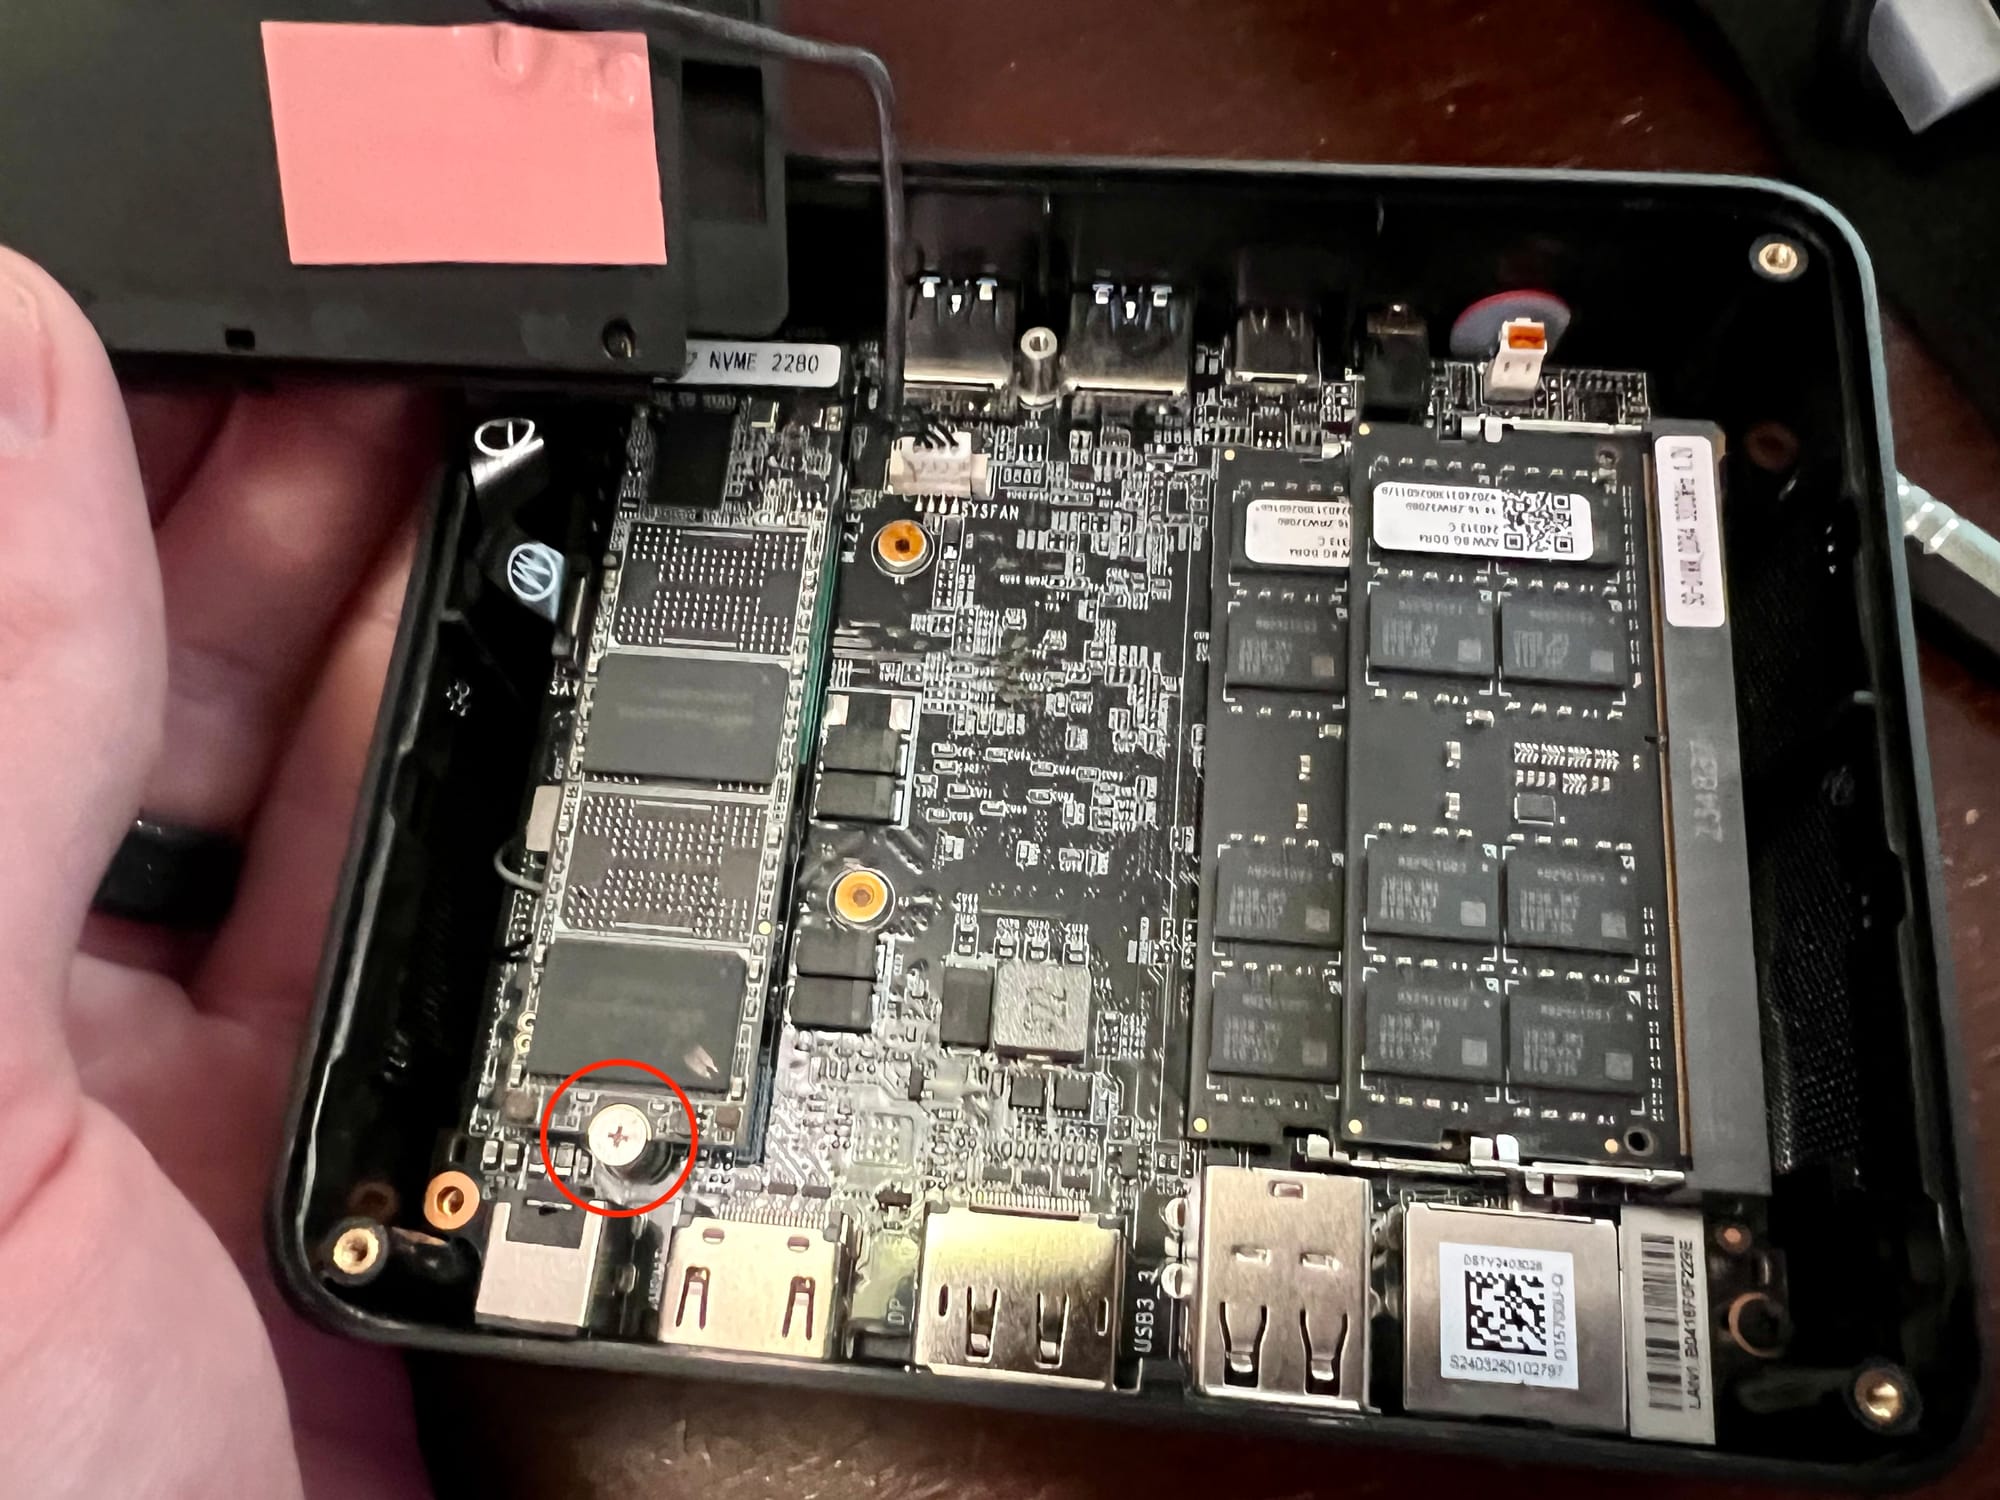
- Remove the retention screw for the WiFi card and eject it from its connector.
Pay careful attention to the antennas that are soldered to the card.

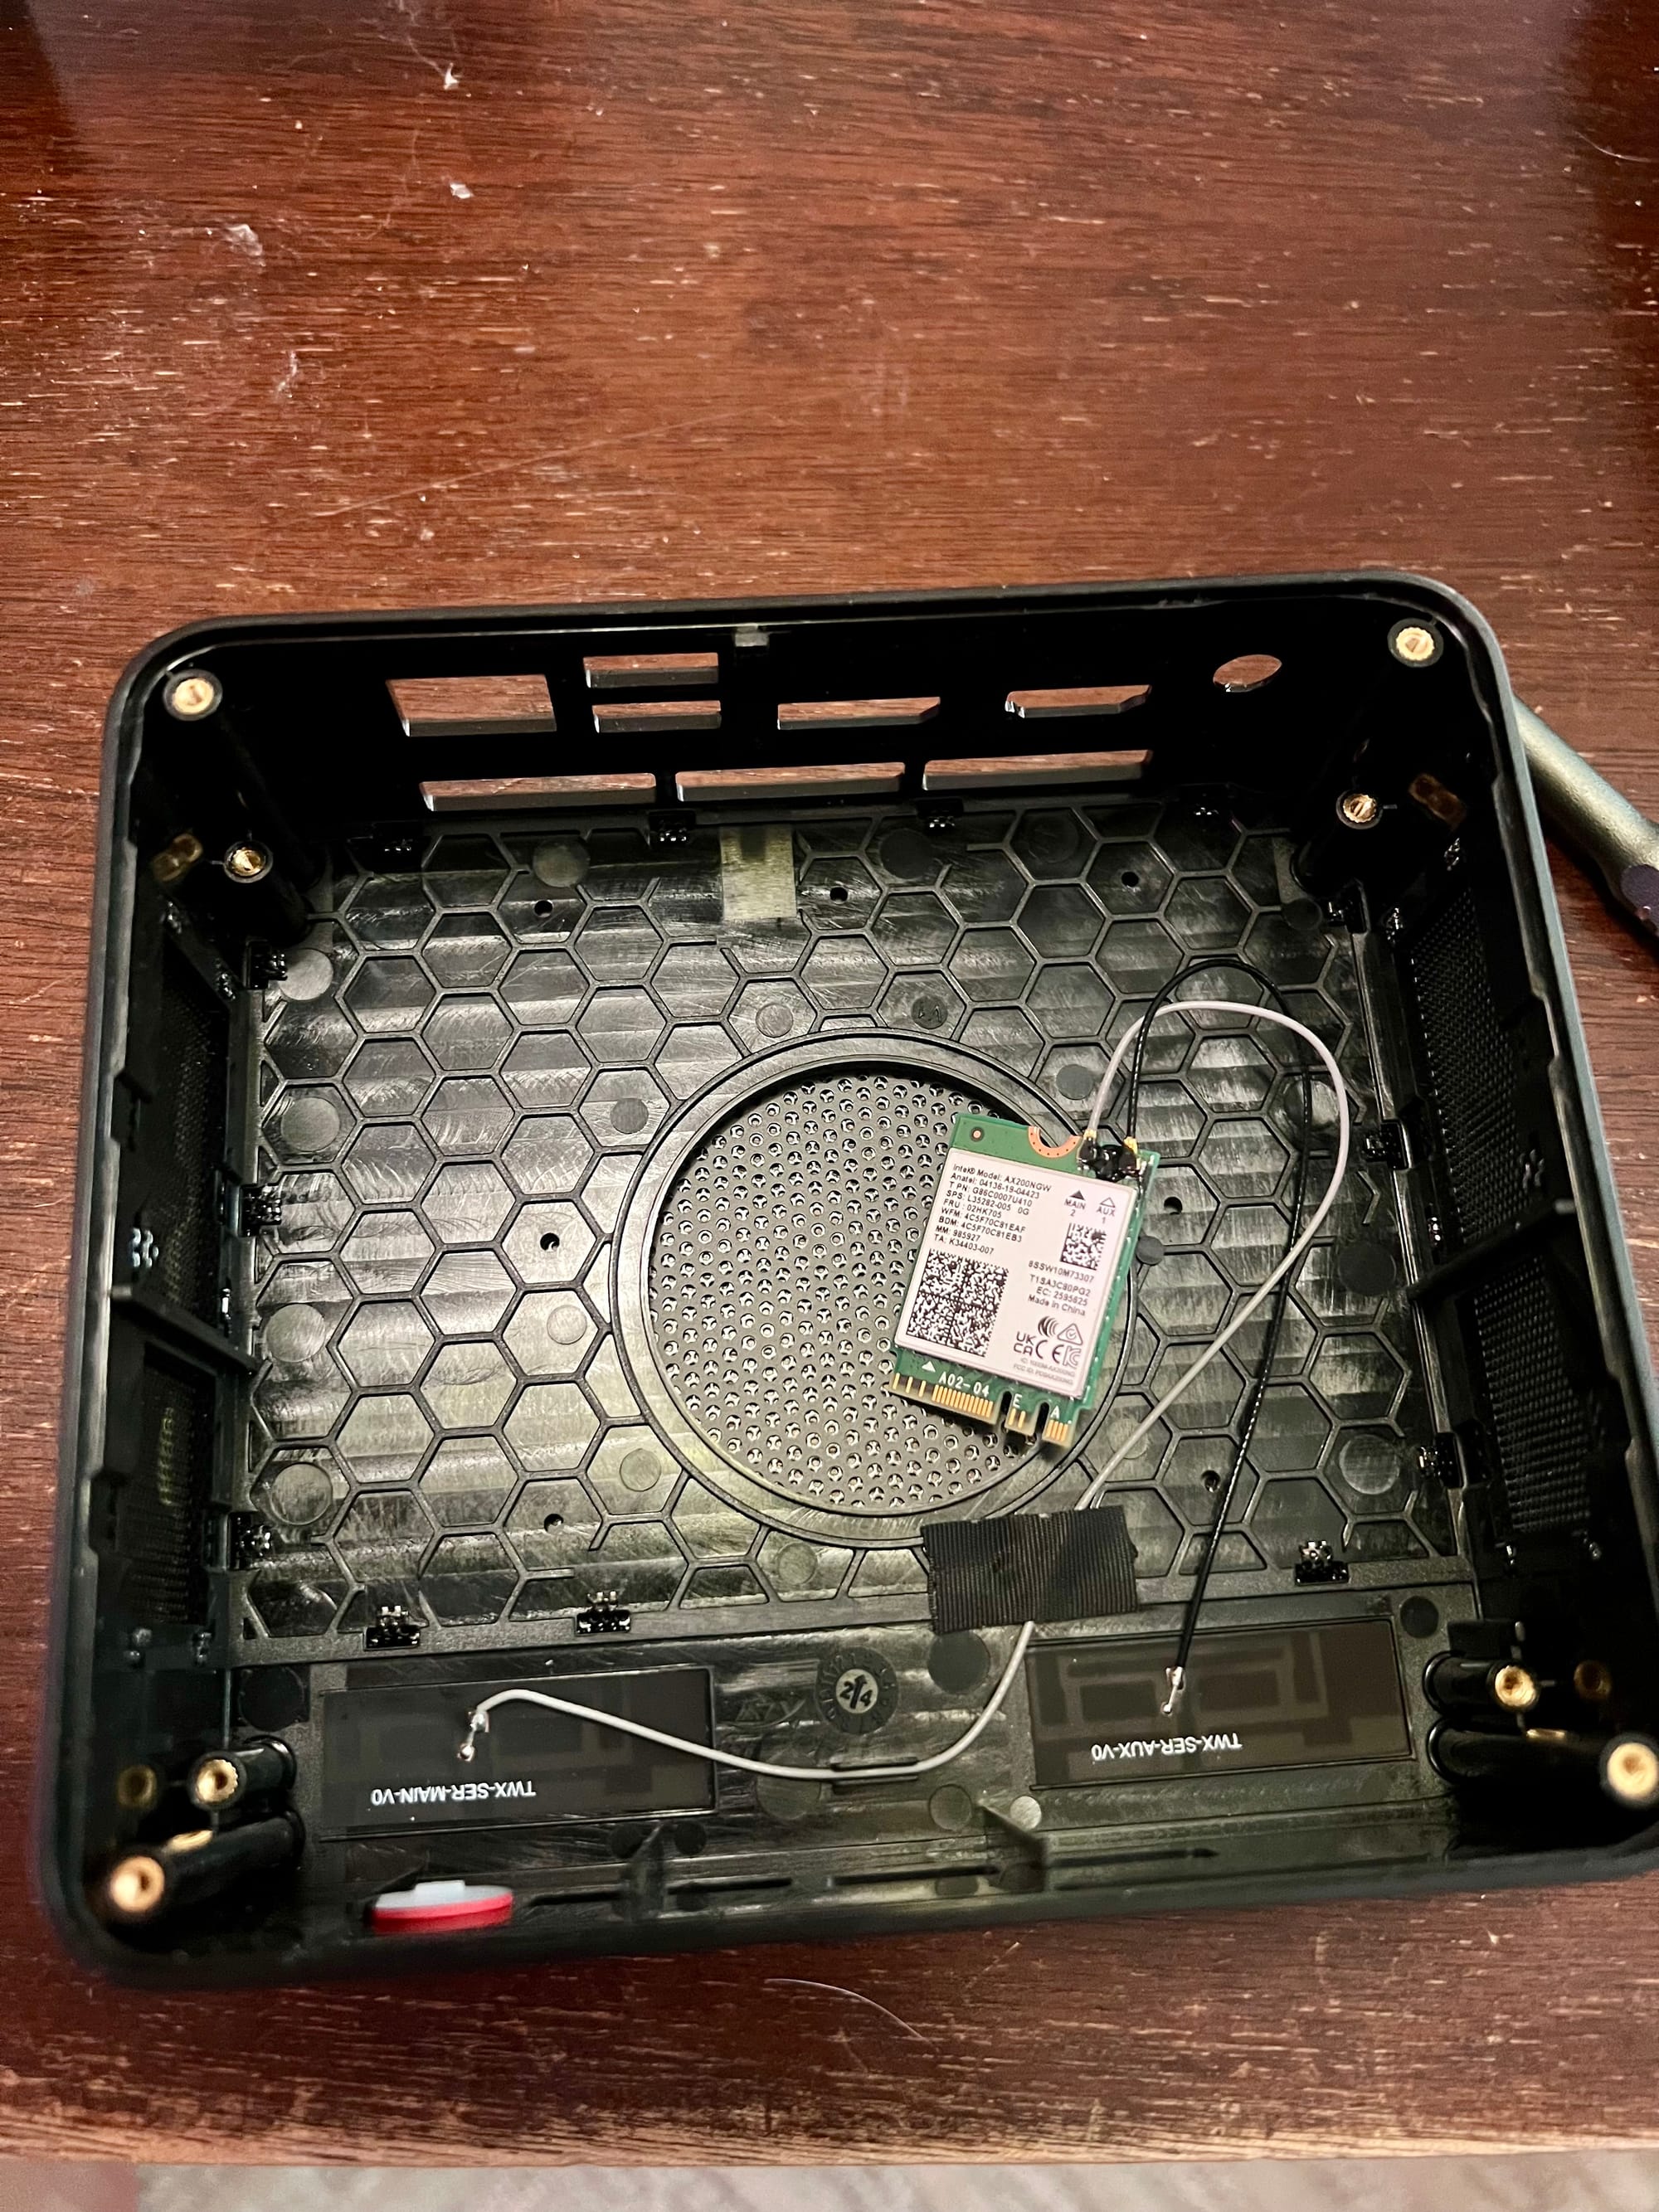
- Gently move the WiFi card out of the way of the circuit board and begin pulling the board out of the case. You should be able to get it out by placing the plastic tray back on and pulling up on the rear side with the miscellaneous ports. Putting it upside down and gently tapping it on your palm may work as well. Once it's out, you should have just the plastic case with a WiFi card attached to two antennas and the released circuit board.
- Remove the two screws holding down the CPU fan
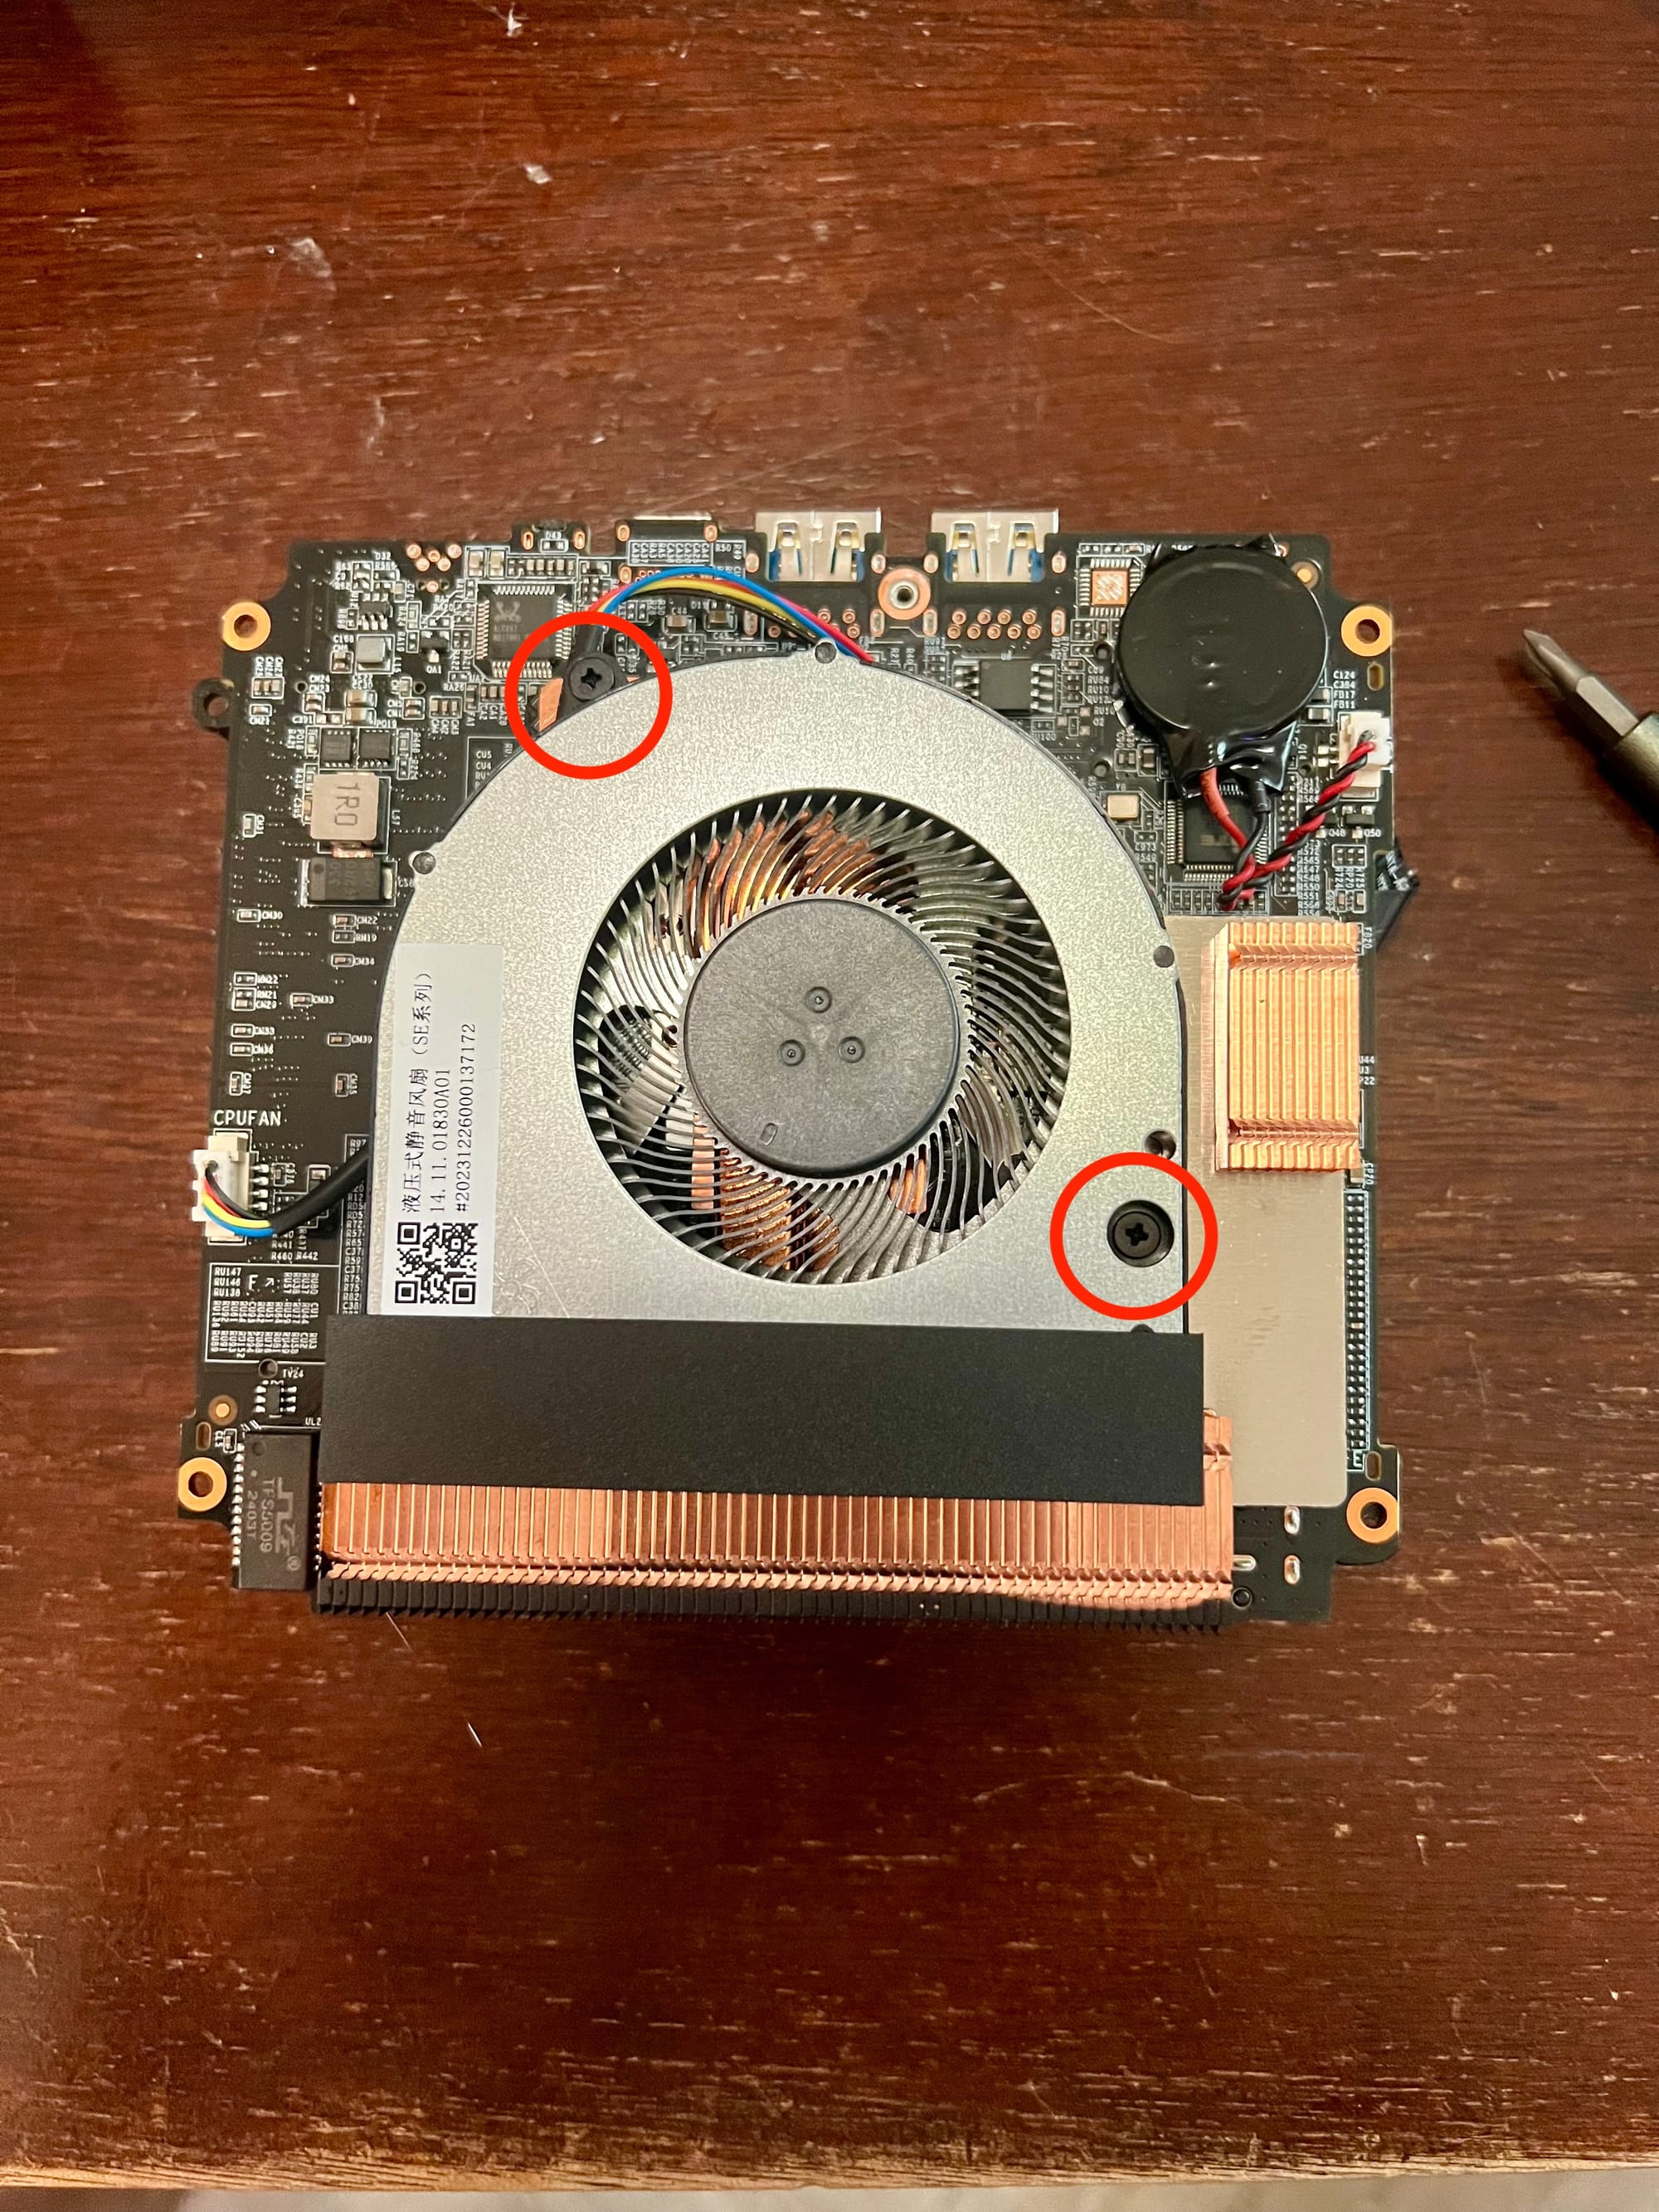
- Depending on the state of the tape you can either peel up the fan to access the next screws or detach it entirely. In my case I was able to cleanly pull the fan off of the heatsink to complete the next steps
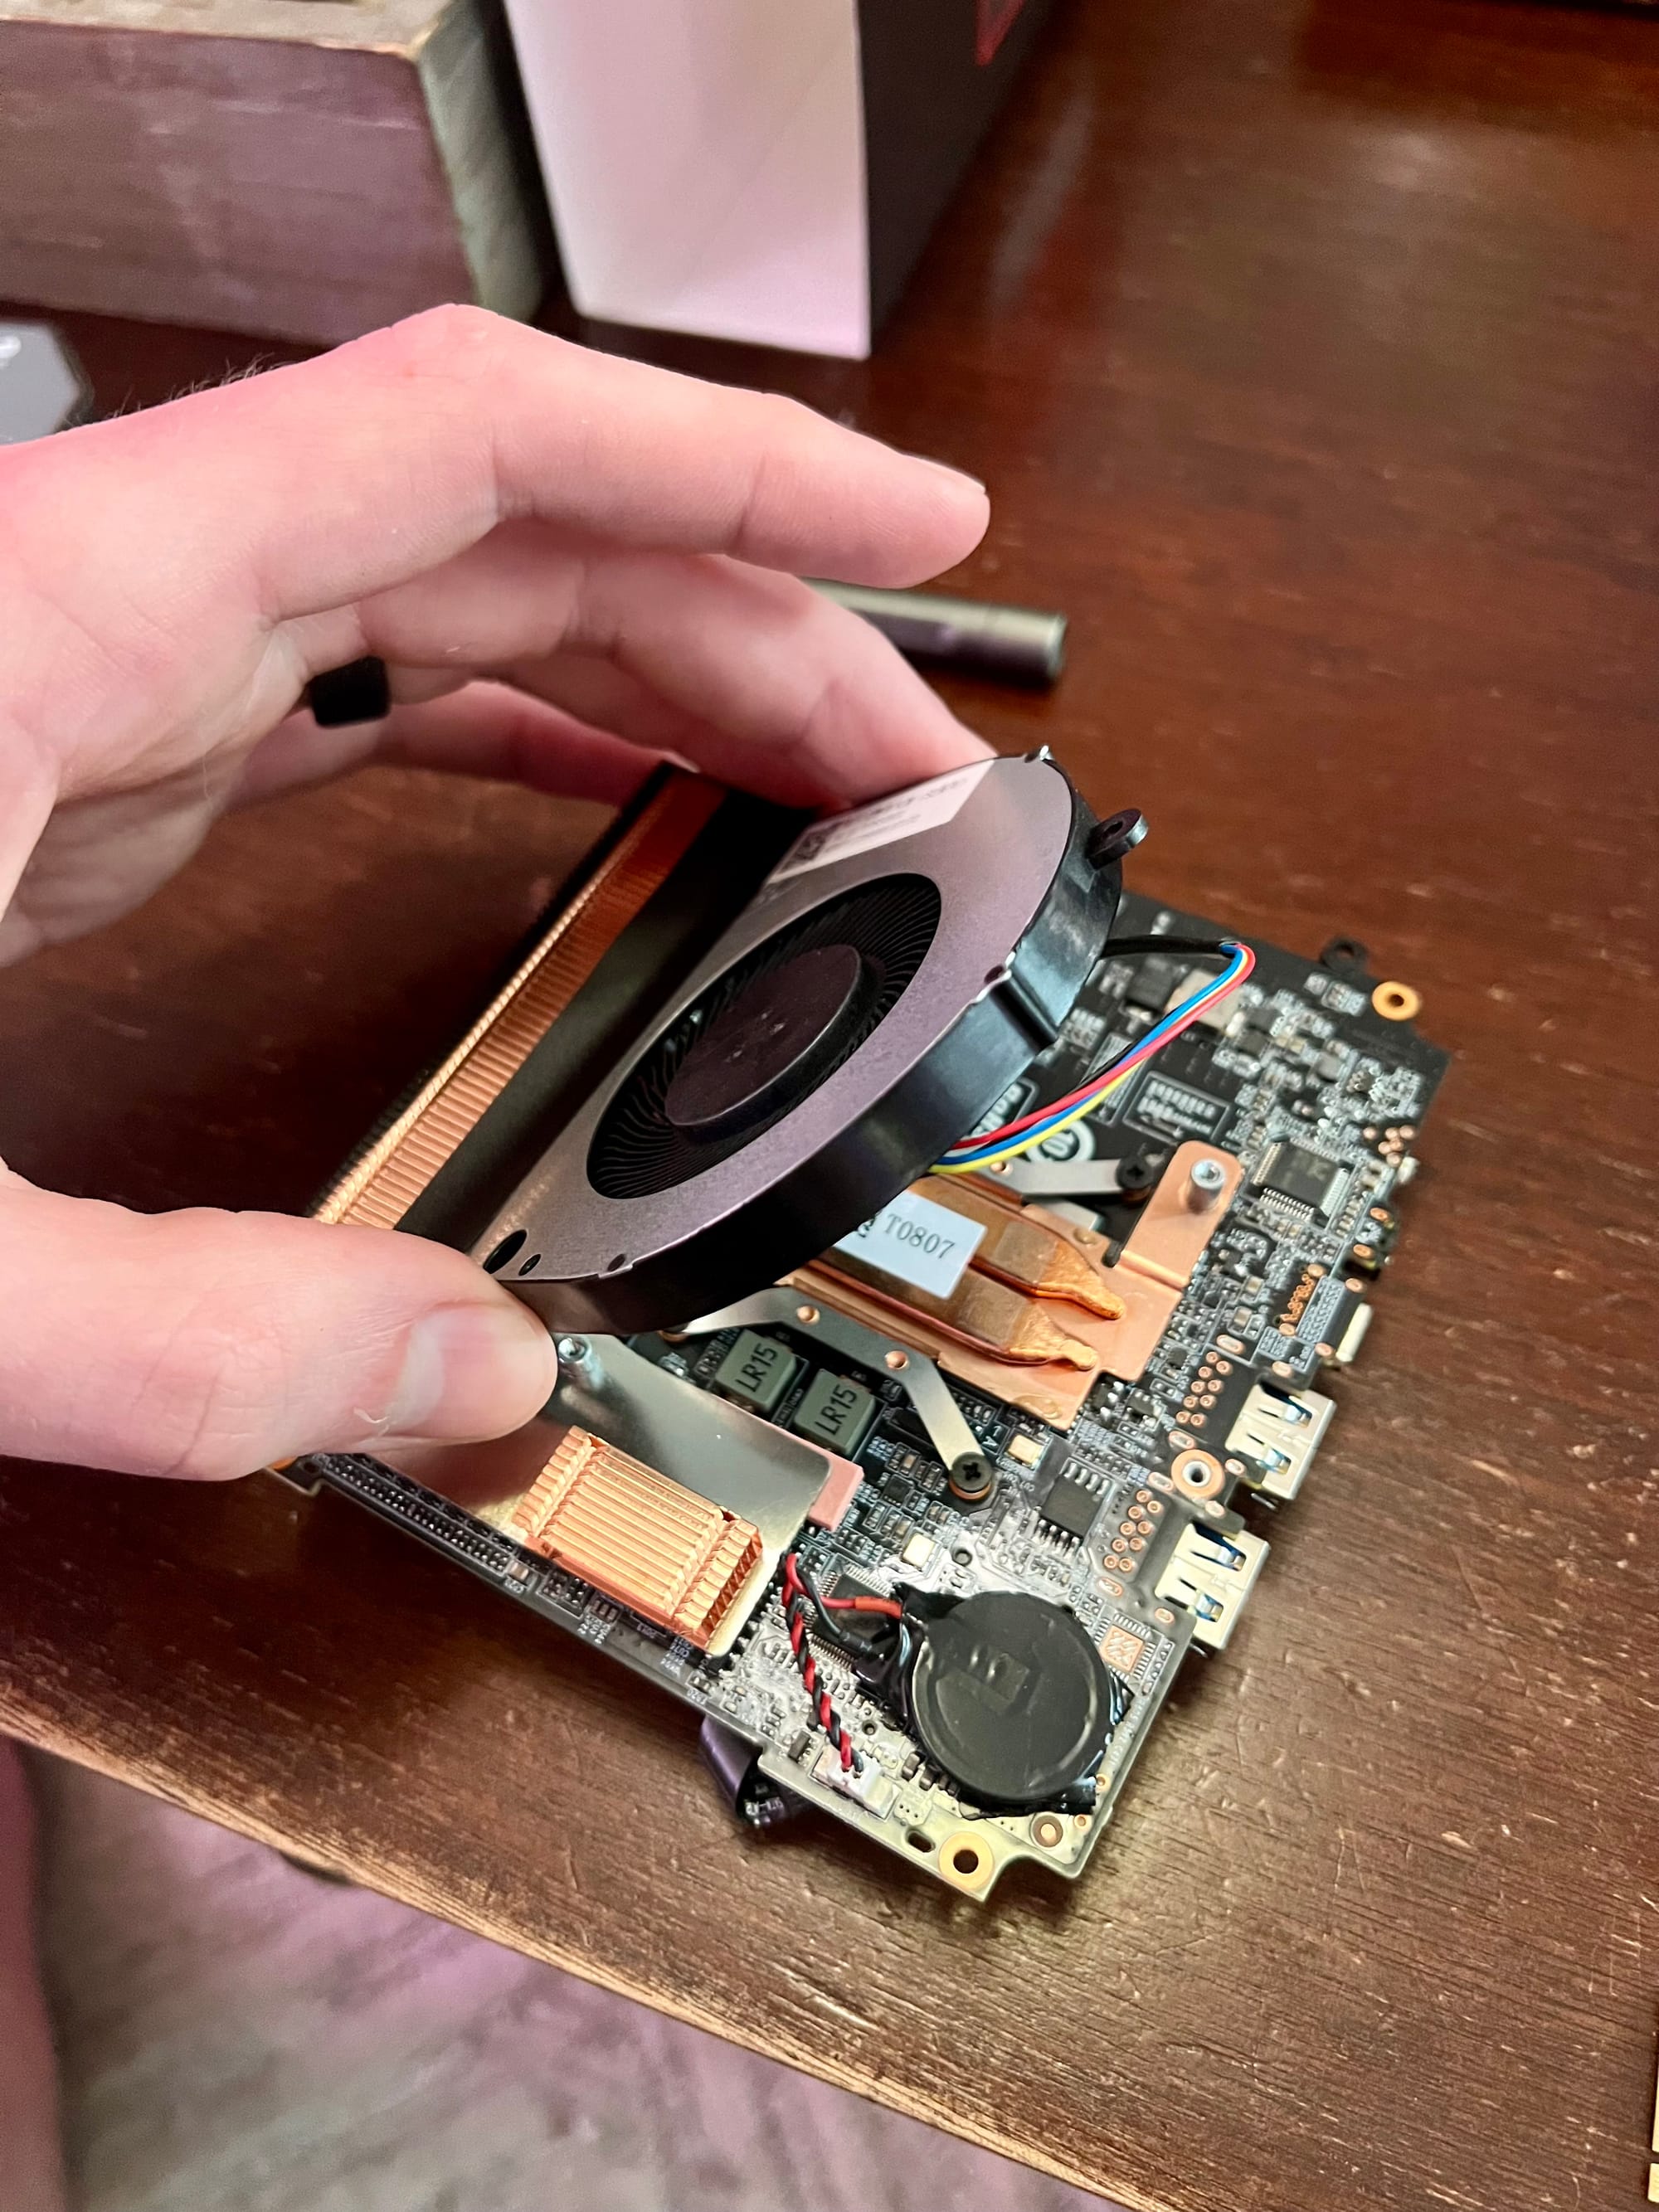
- Remove the final four screws that hold down the heatsink
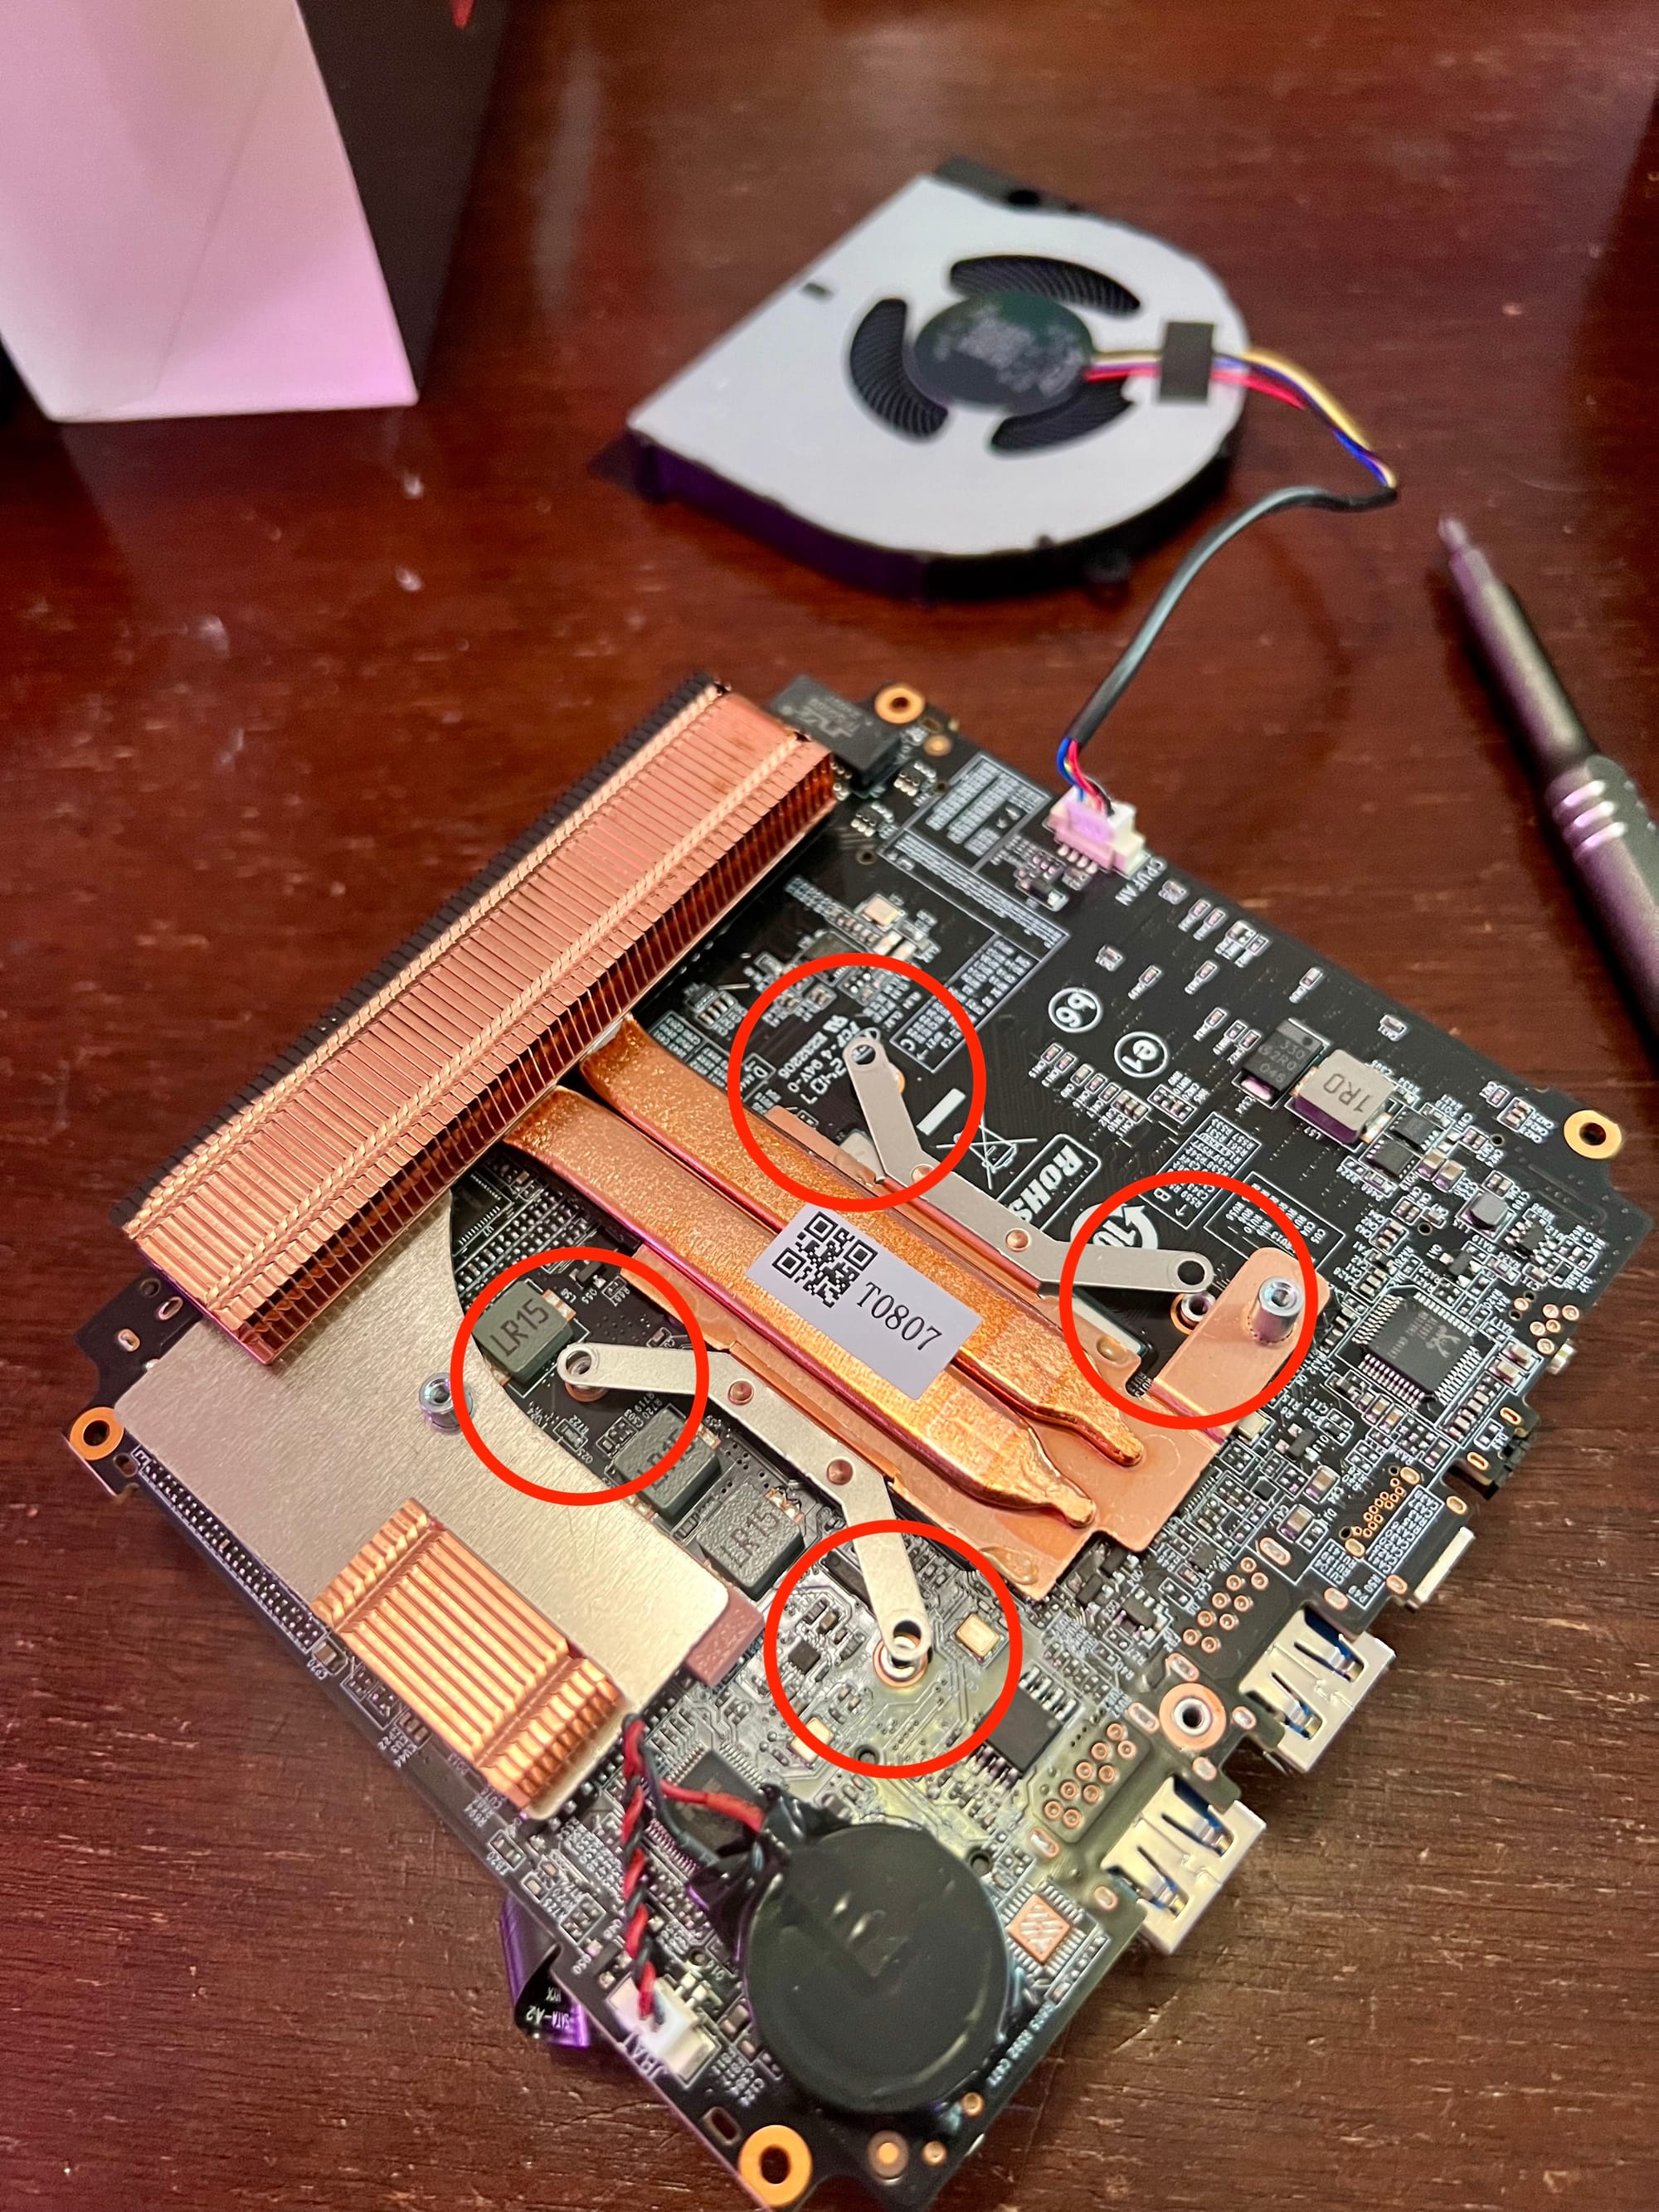
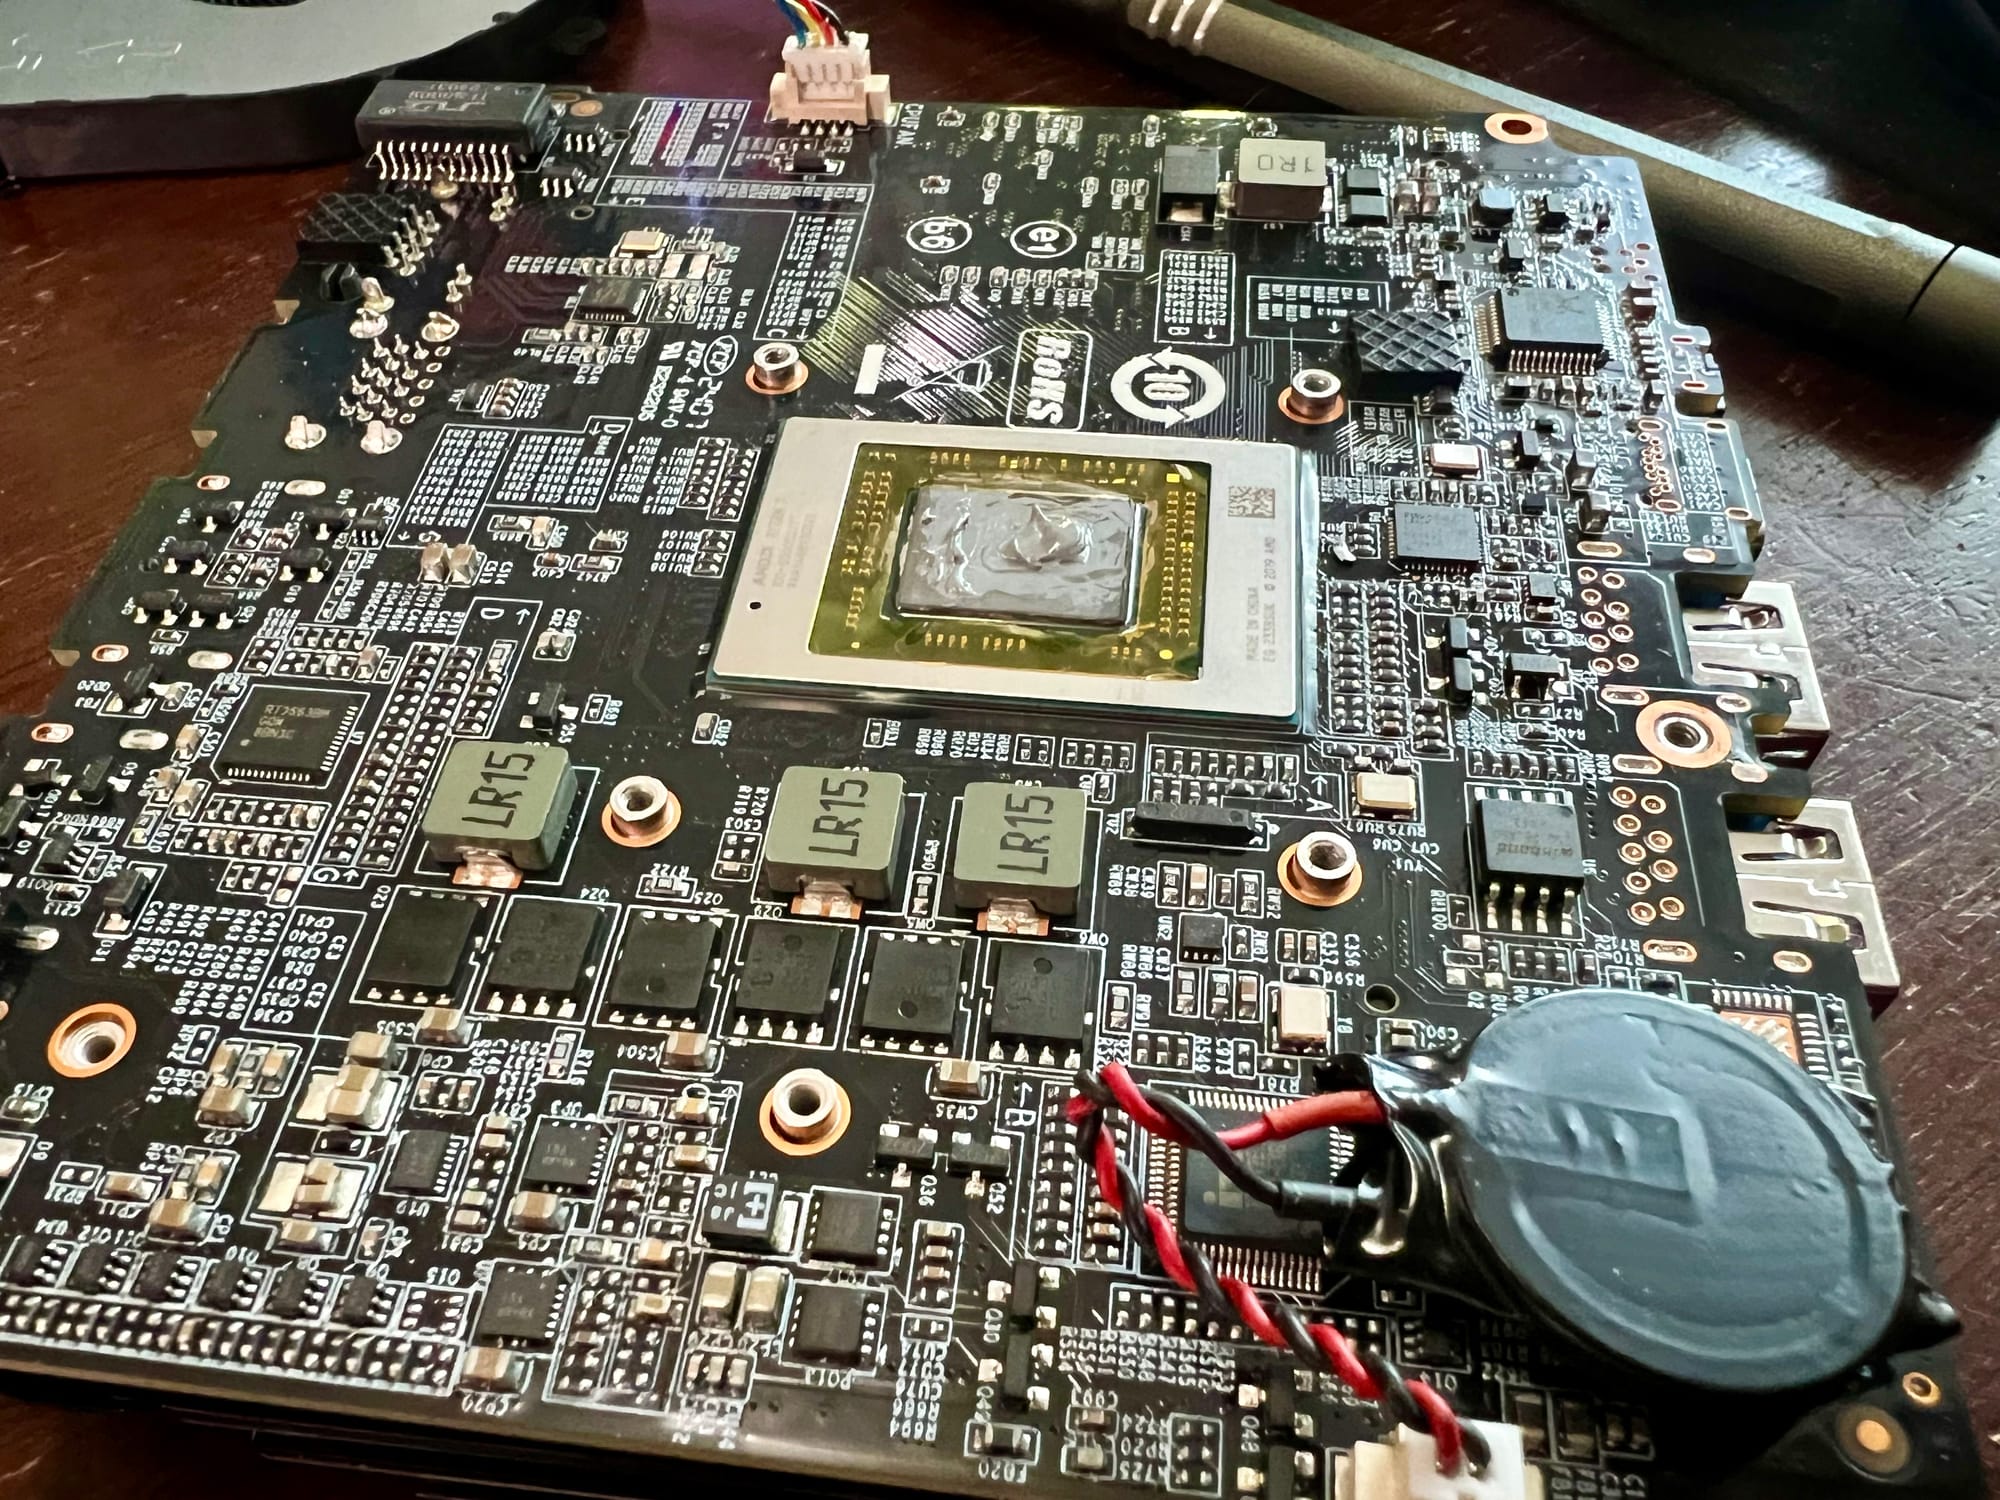
- Pull the entire heatsink off of the CPU and assess the thermal paste
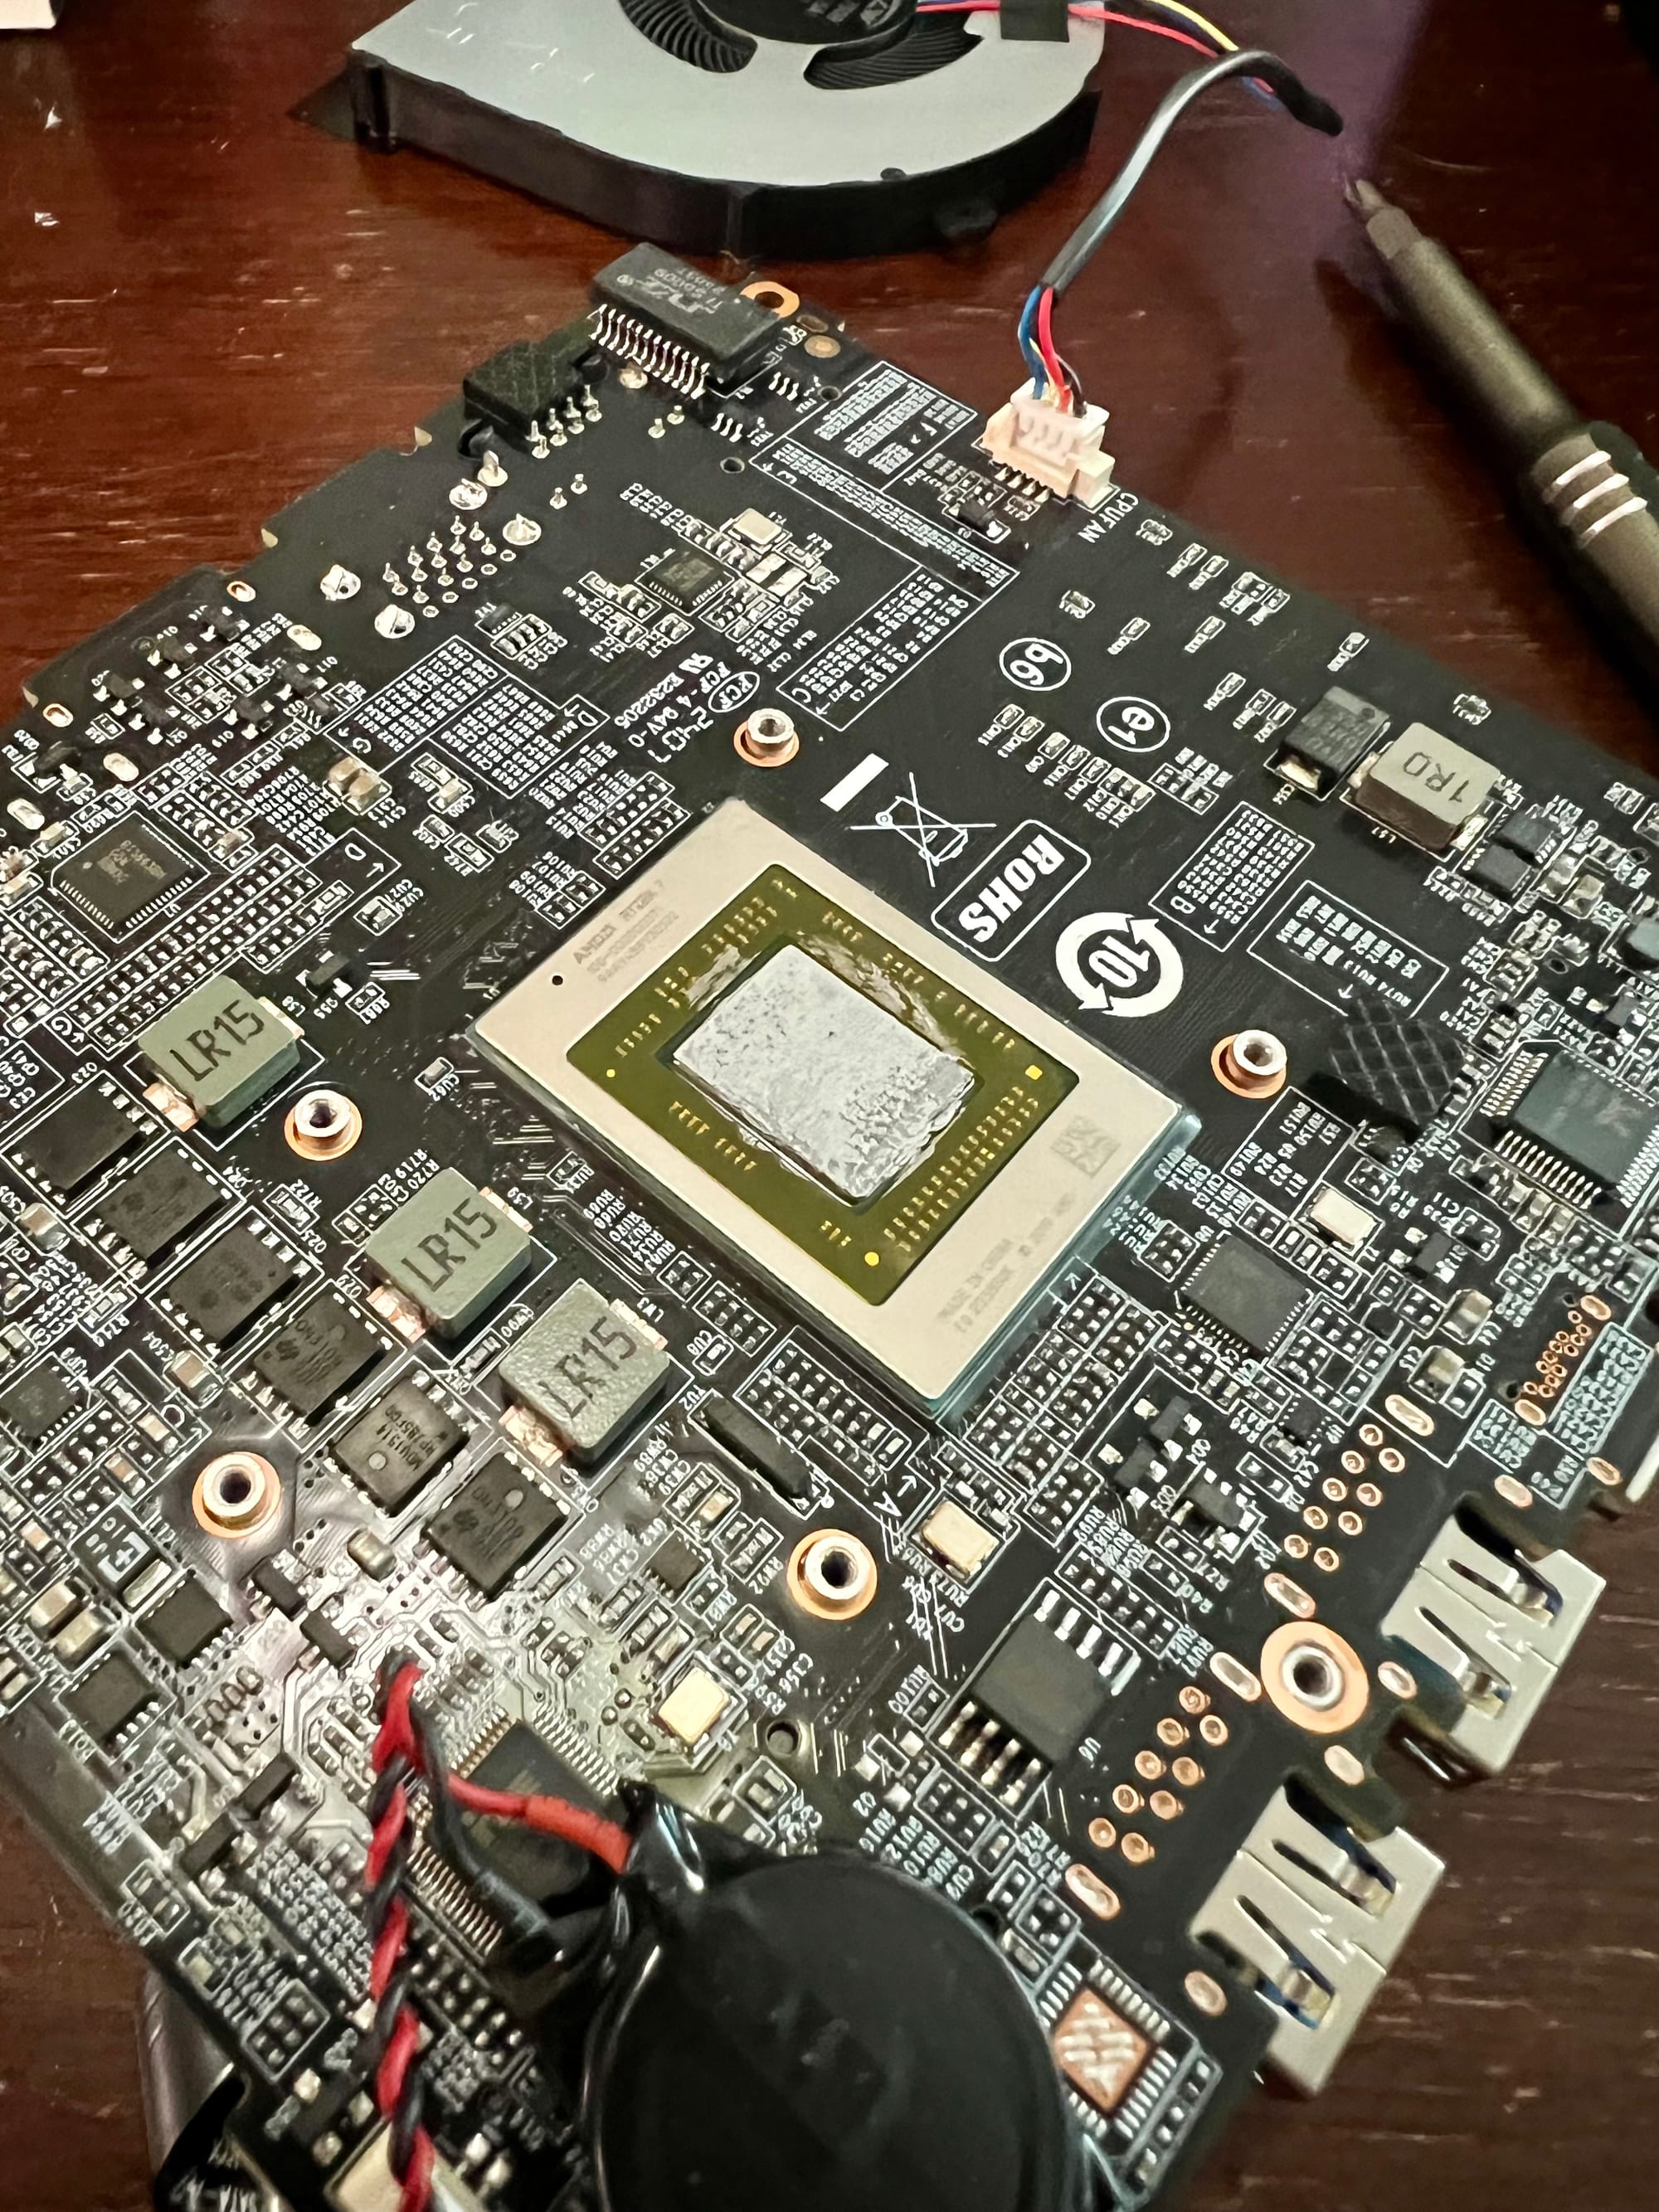
This one is actually pretty good. The paste was still "wet" and had pretty good coverage.
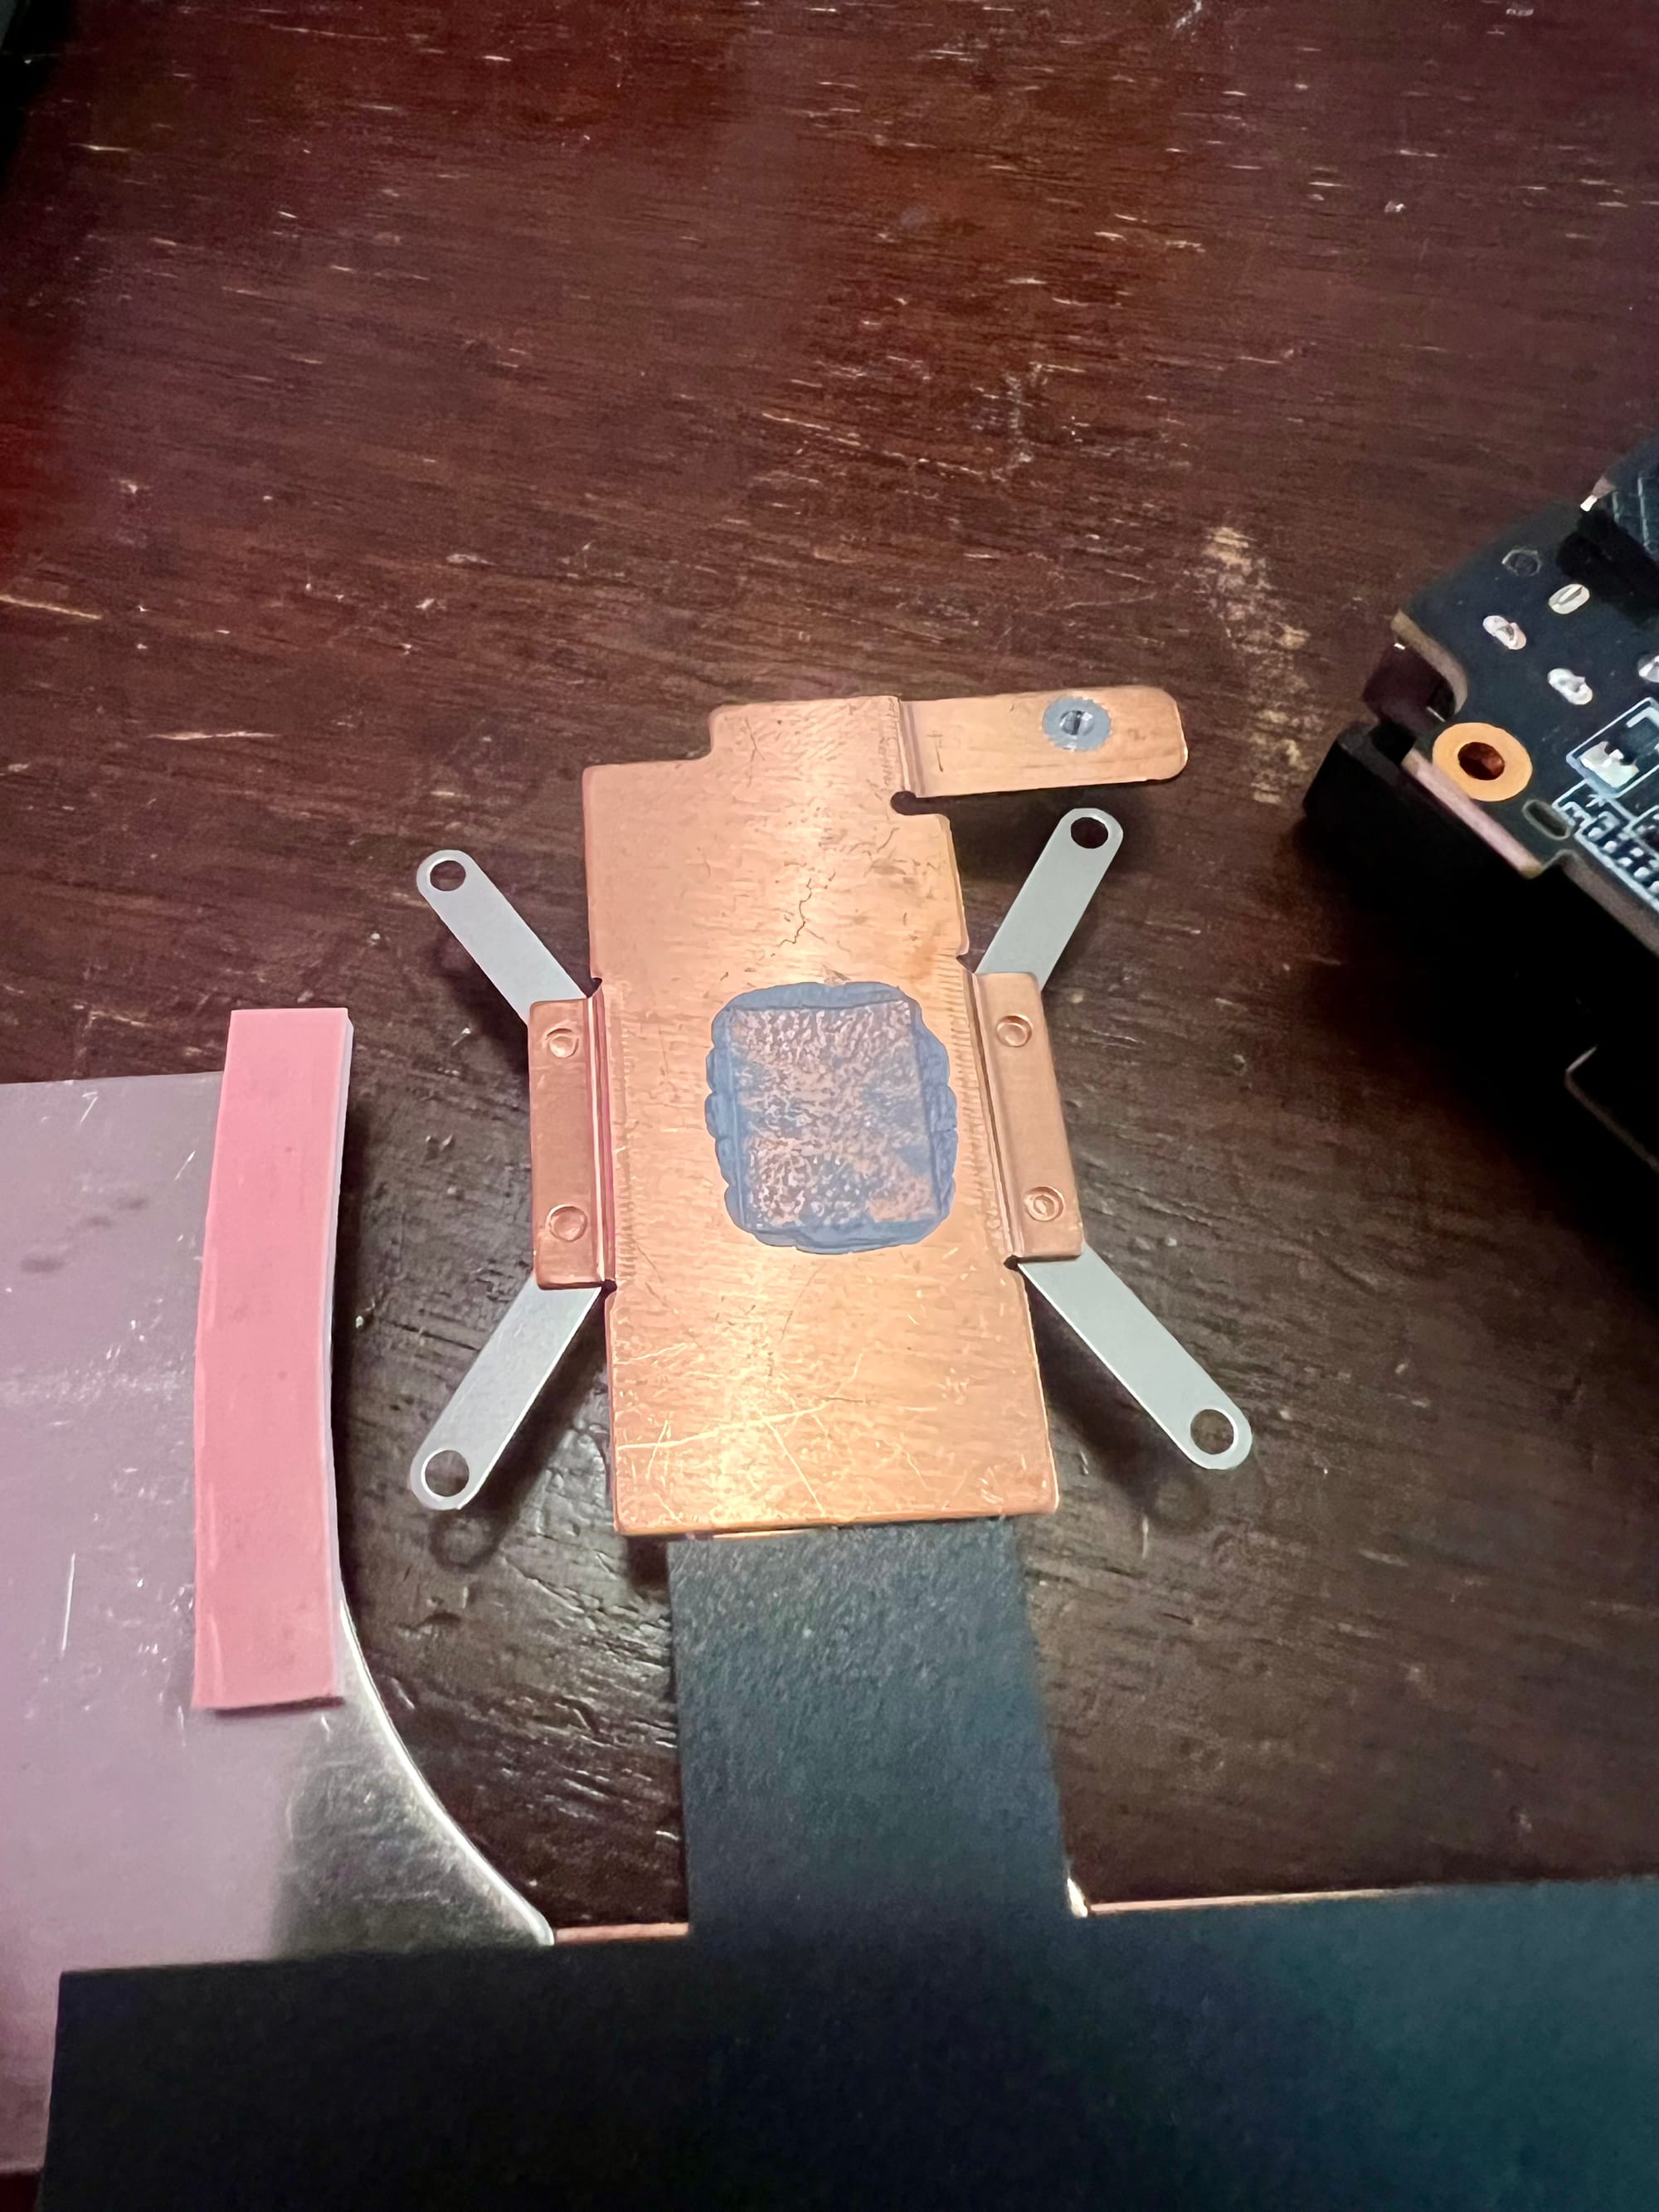
- If necessary, clean up dried paste with a Q-Tip dipped in alcohol. For previous models I had to pick it off of the surrounding area as well, but this time was fine.

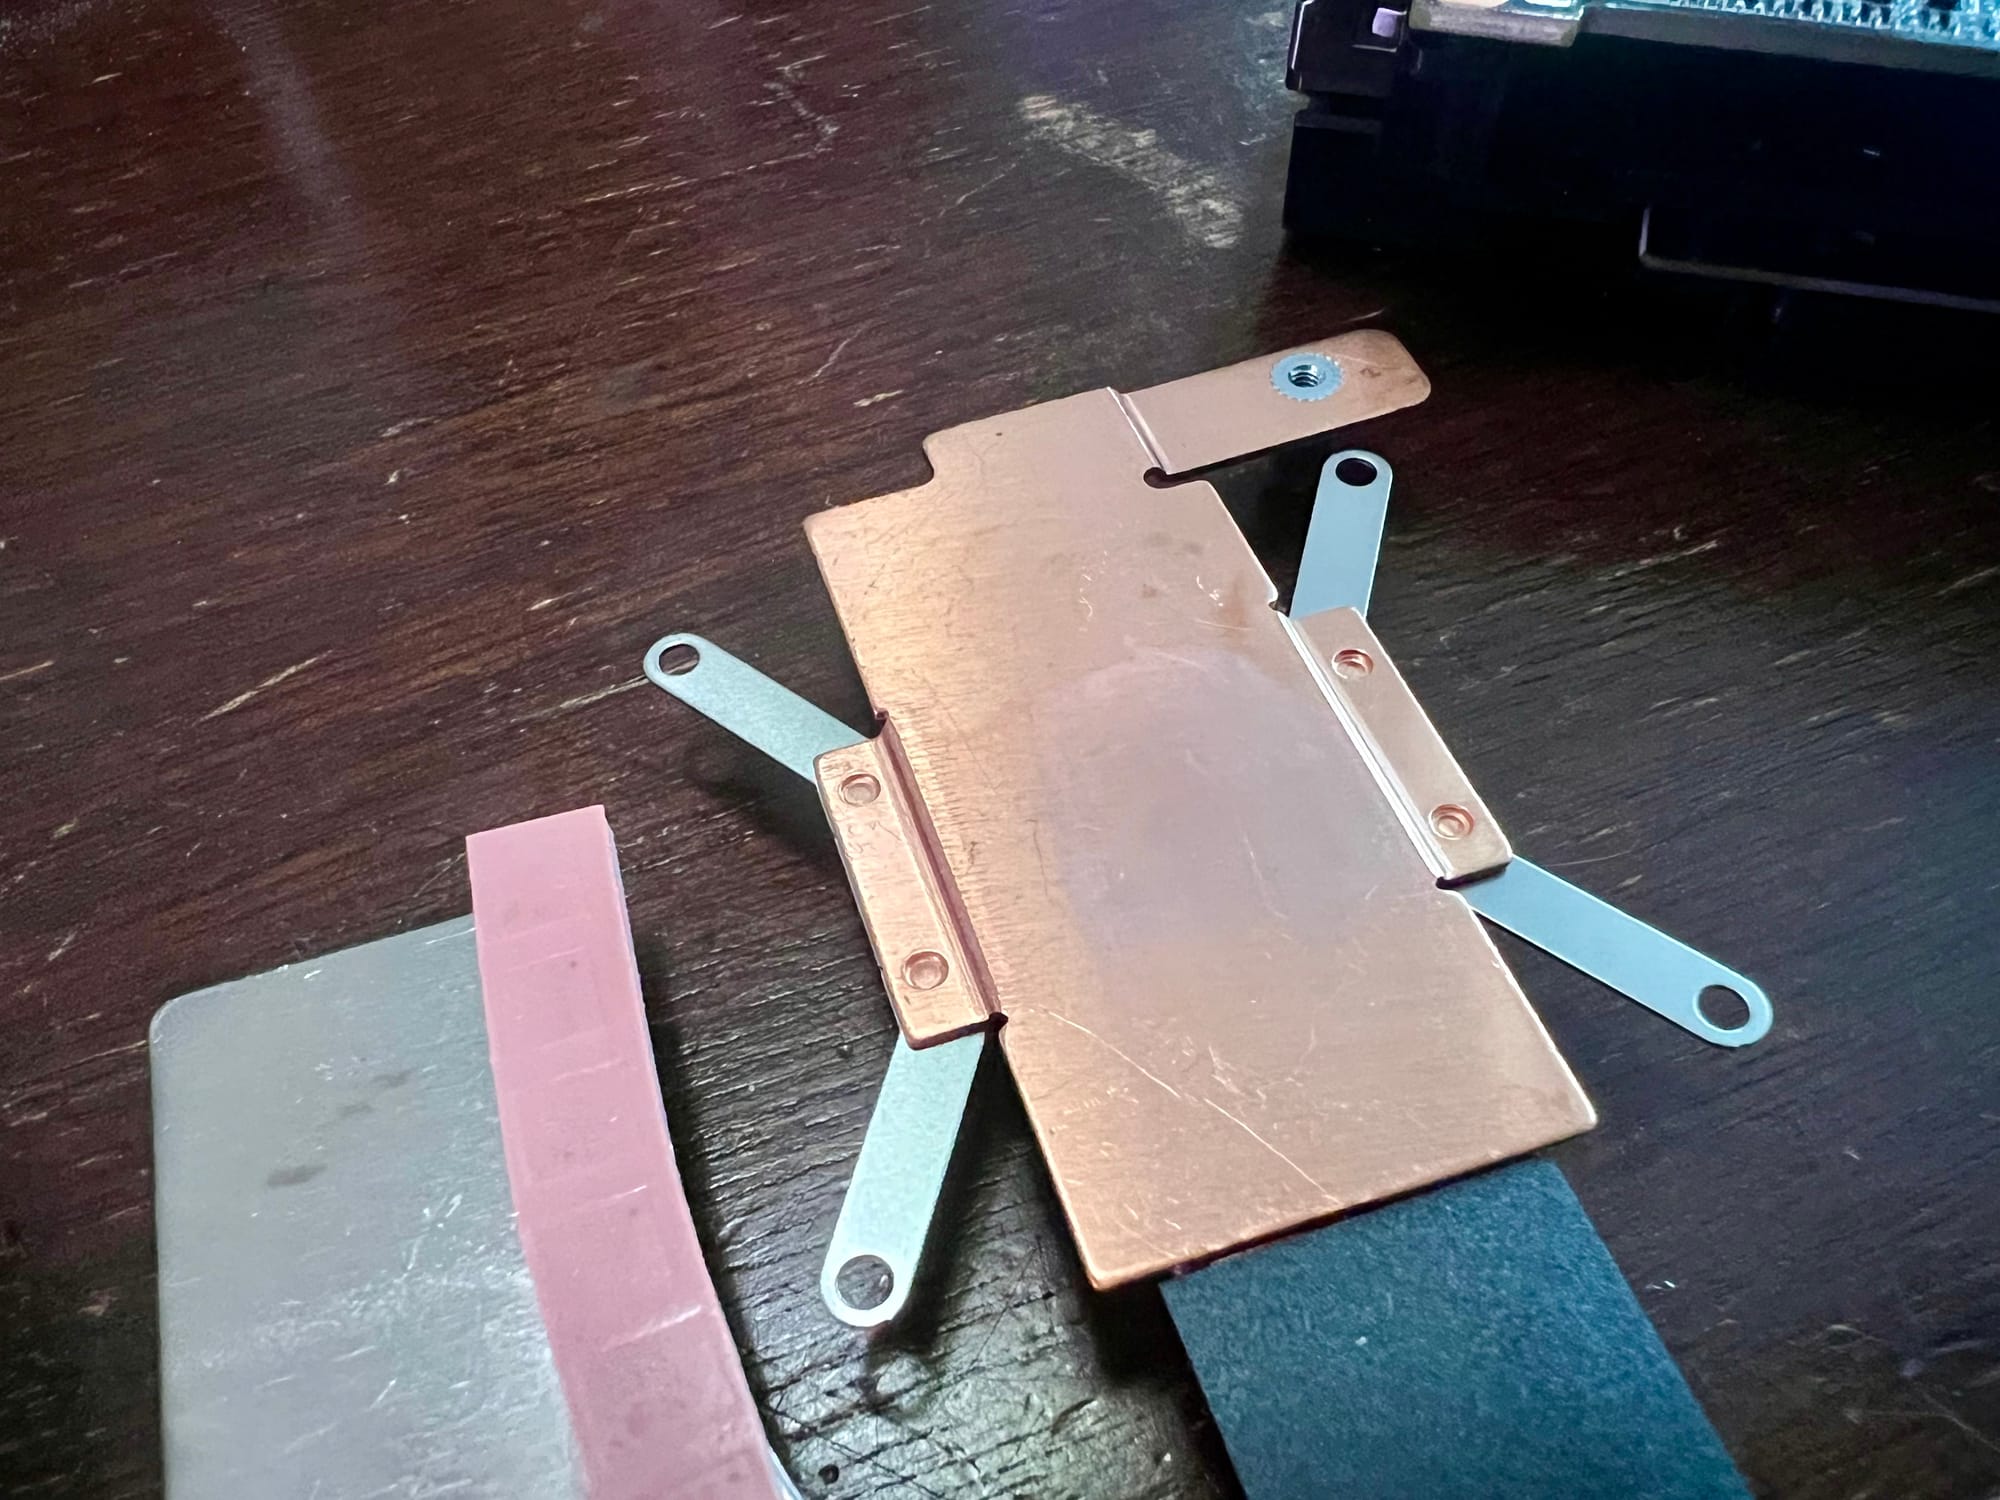
All clean!
- Apply your thermal paste of choice. It's okay if it's not perfect, the heatsink will squash it down and help distribute it evenly
- Follow the steps in reverse order to re-assemble! Keep in mind that you'll want to position the WiFi Card in the correct place as you reinsert the circuit board to the case, so that it can be connected once again.
Conclusion
As I've mentioned before, the layout of each Beelink model can be a bit of a surprise, so your experience might be a little different from mine. Some models have the CMOS battery on the "top" side, but the one I'm showing you here has it neatly hidden on the underside. Don't worry though, the basic framework should still be a handy roadmap for you.
Now, you might be thinking that the thermal paste in my example pictures didn't really need a replacement. But I've heard so many stories about dried-out paste, that I just love the confidence and assurance that comes from knowing I've personally applied a brand I trust.
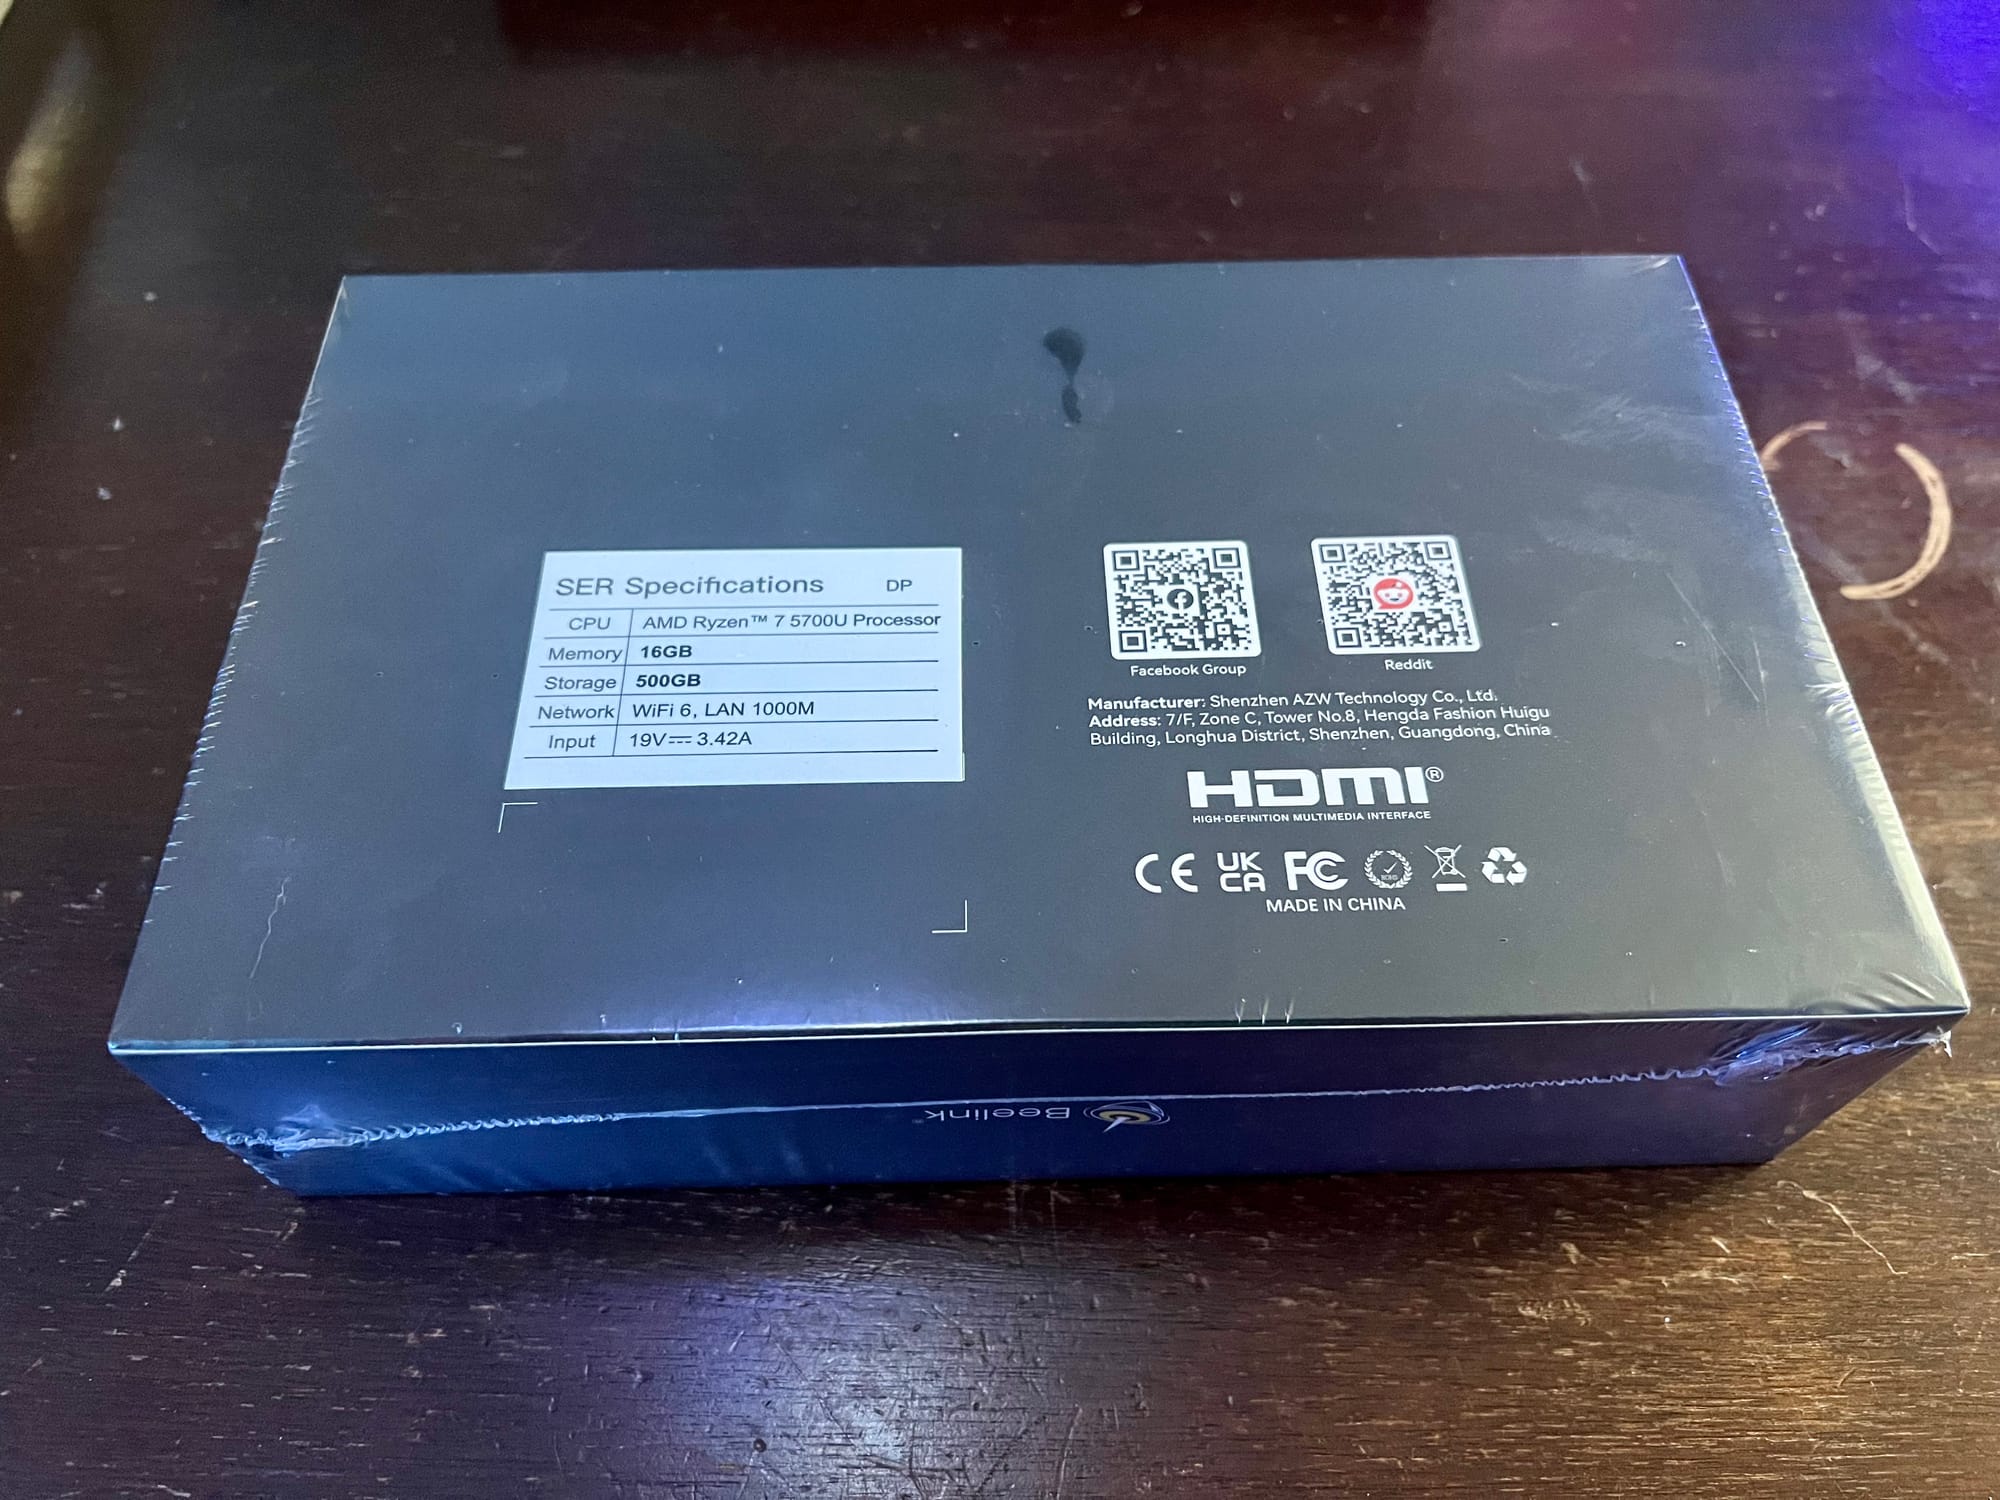
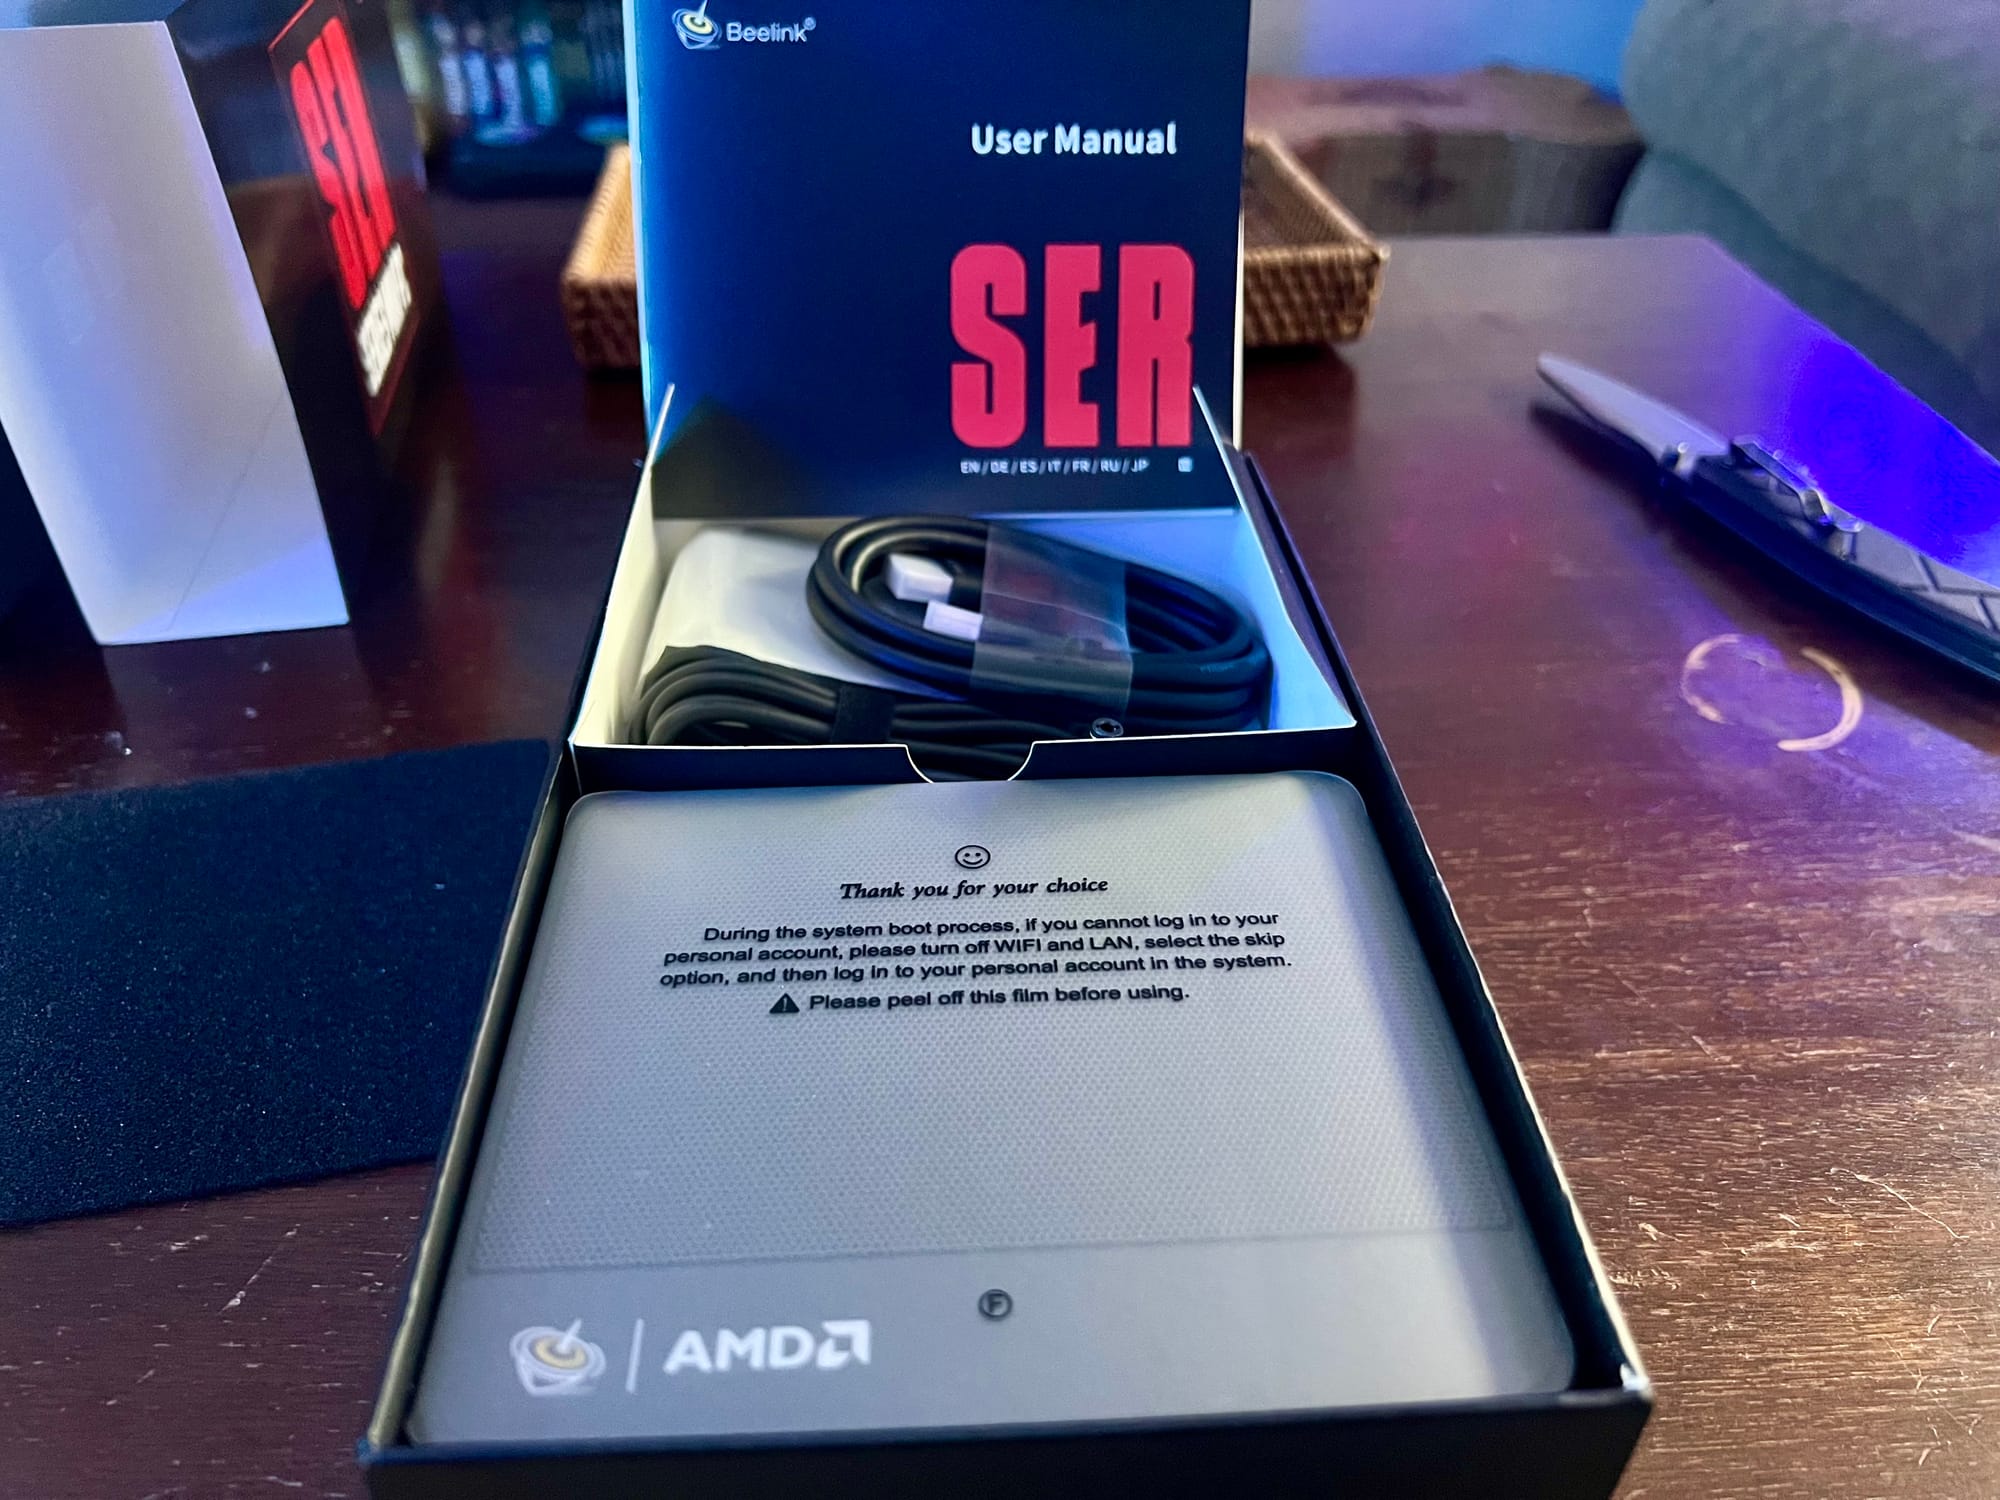
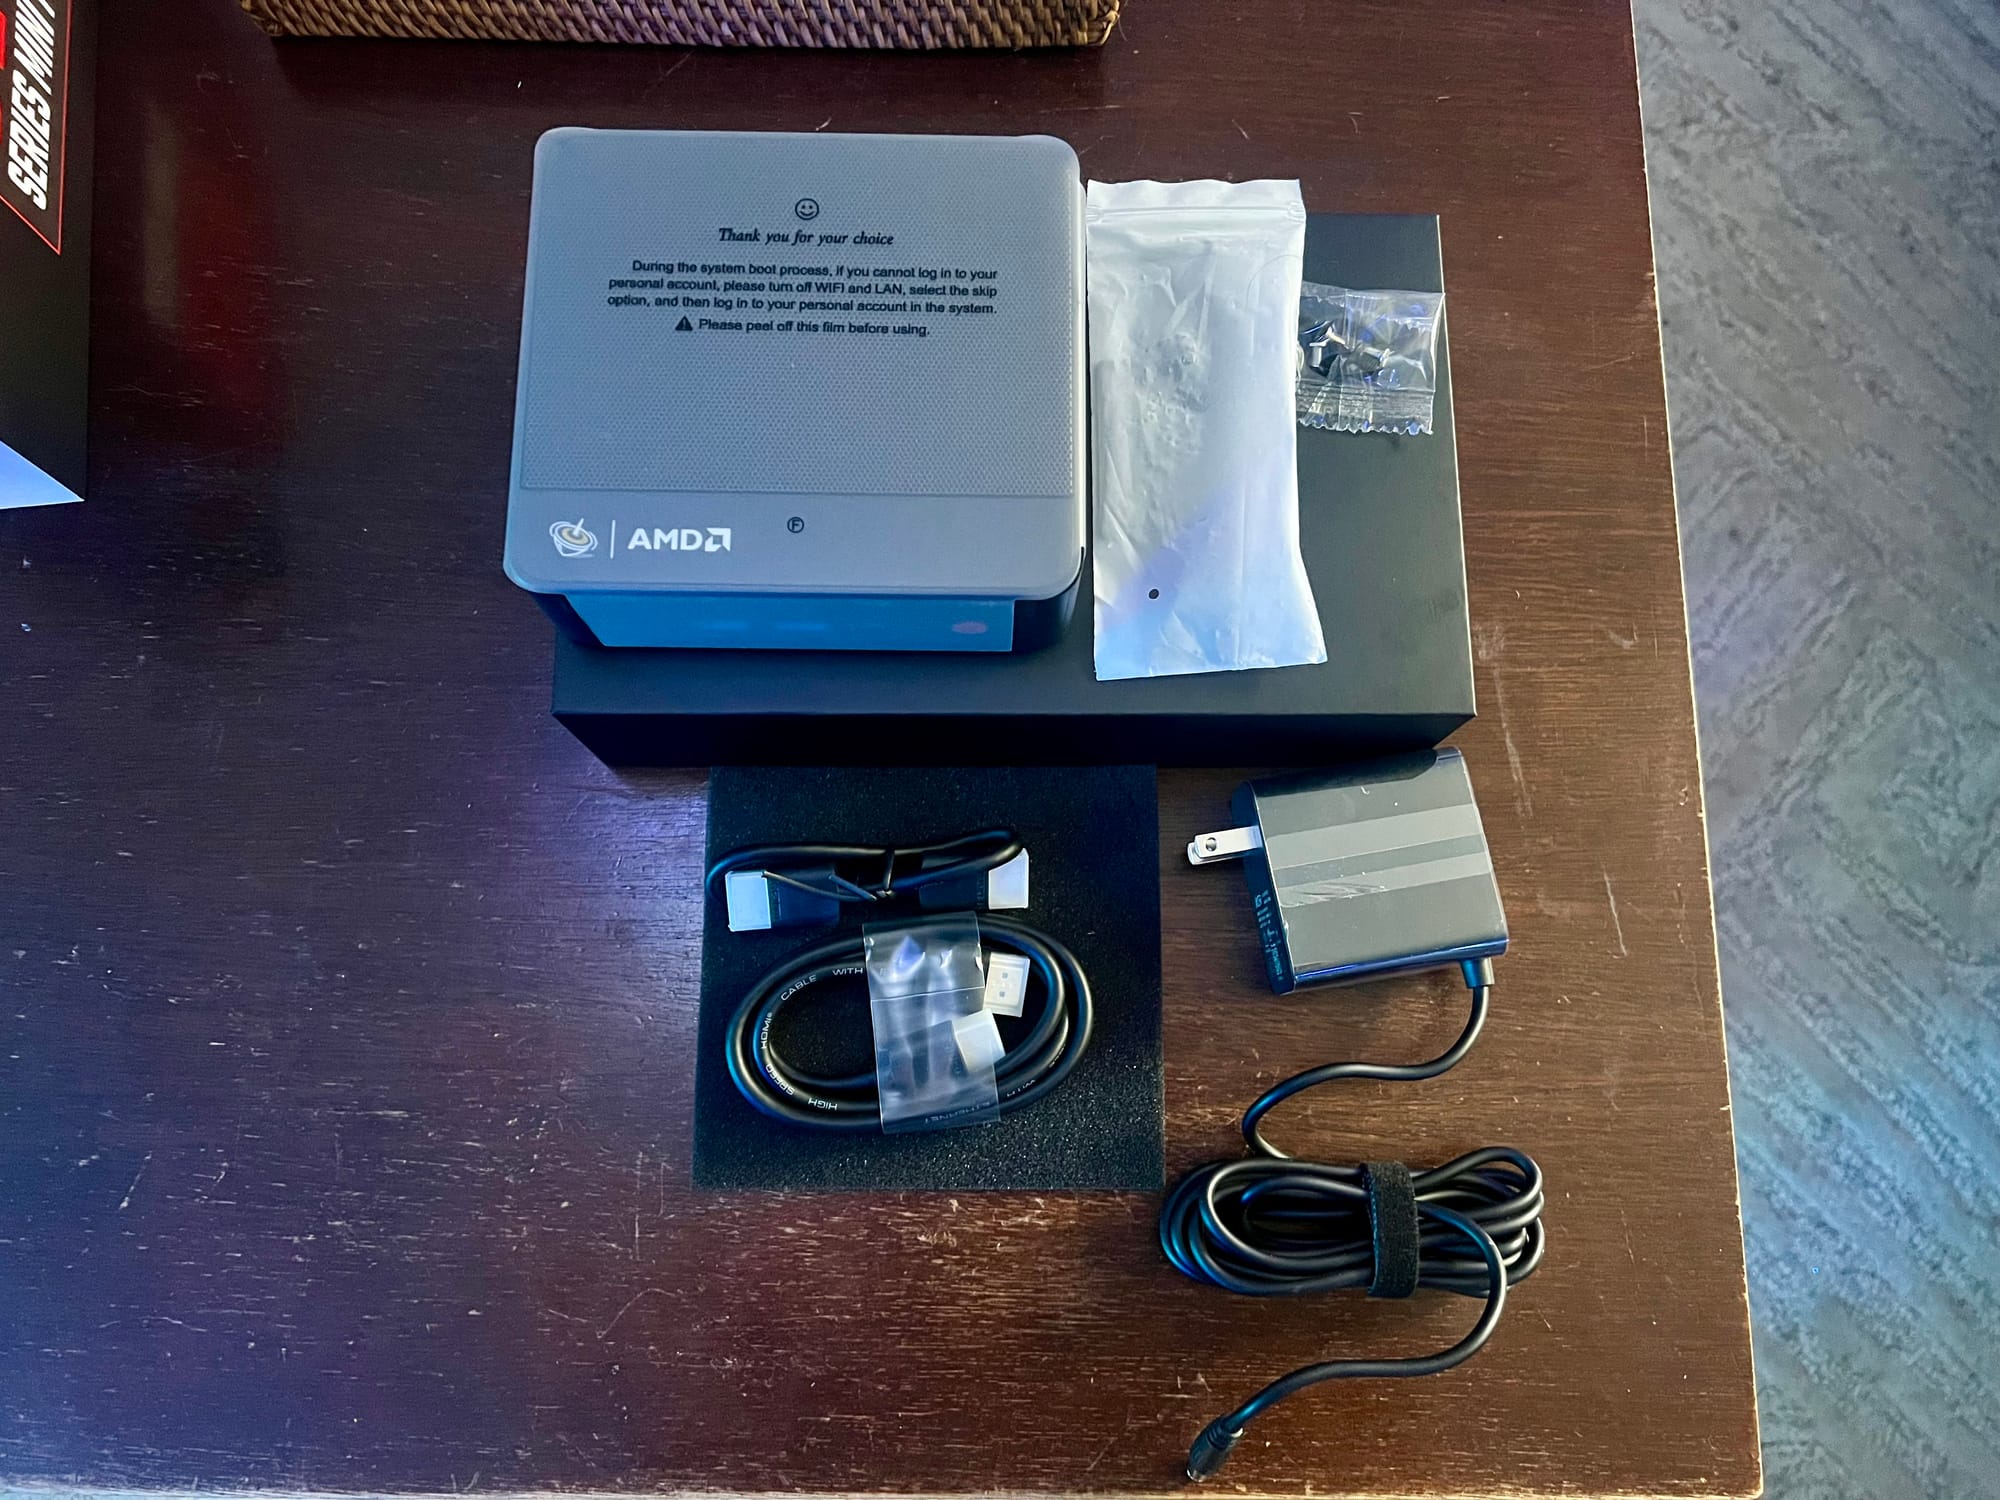
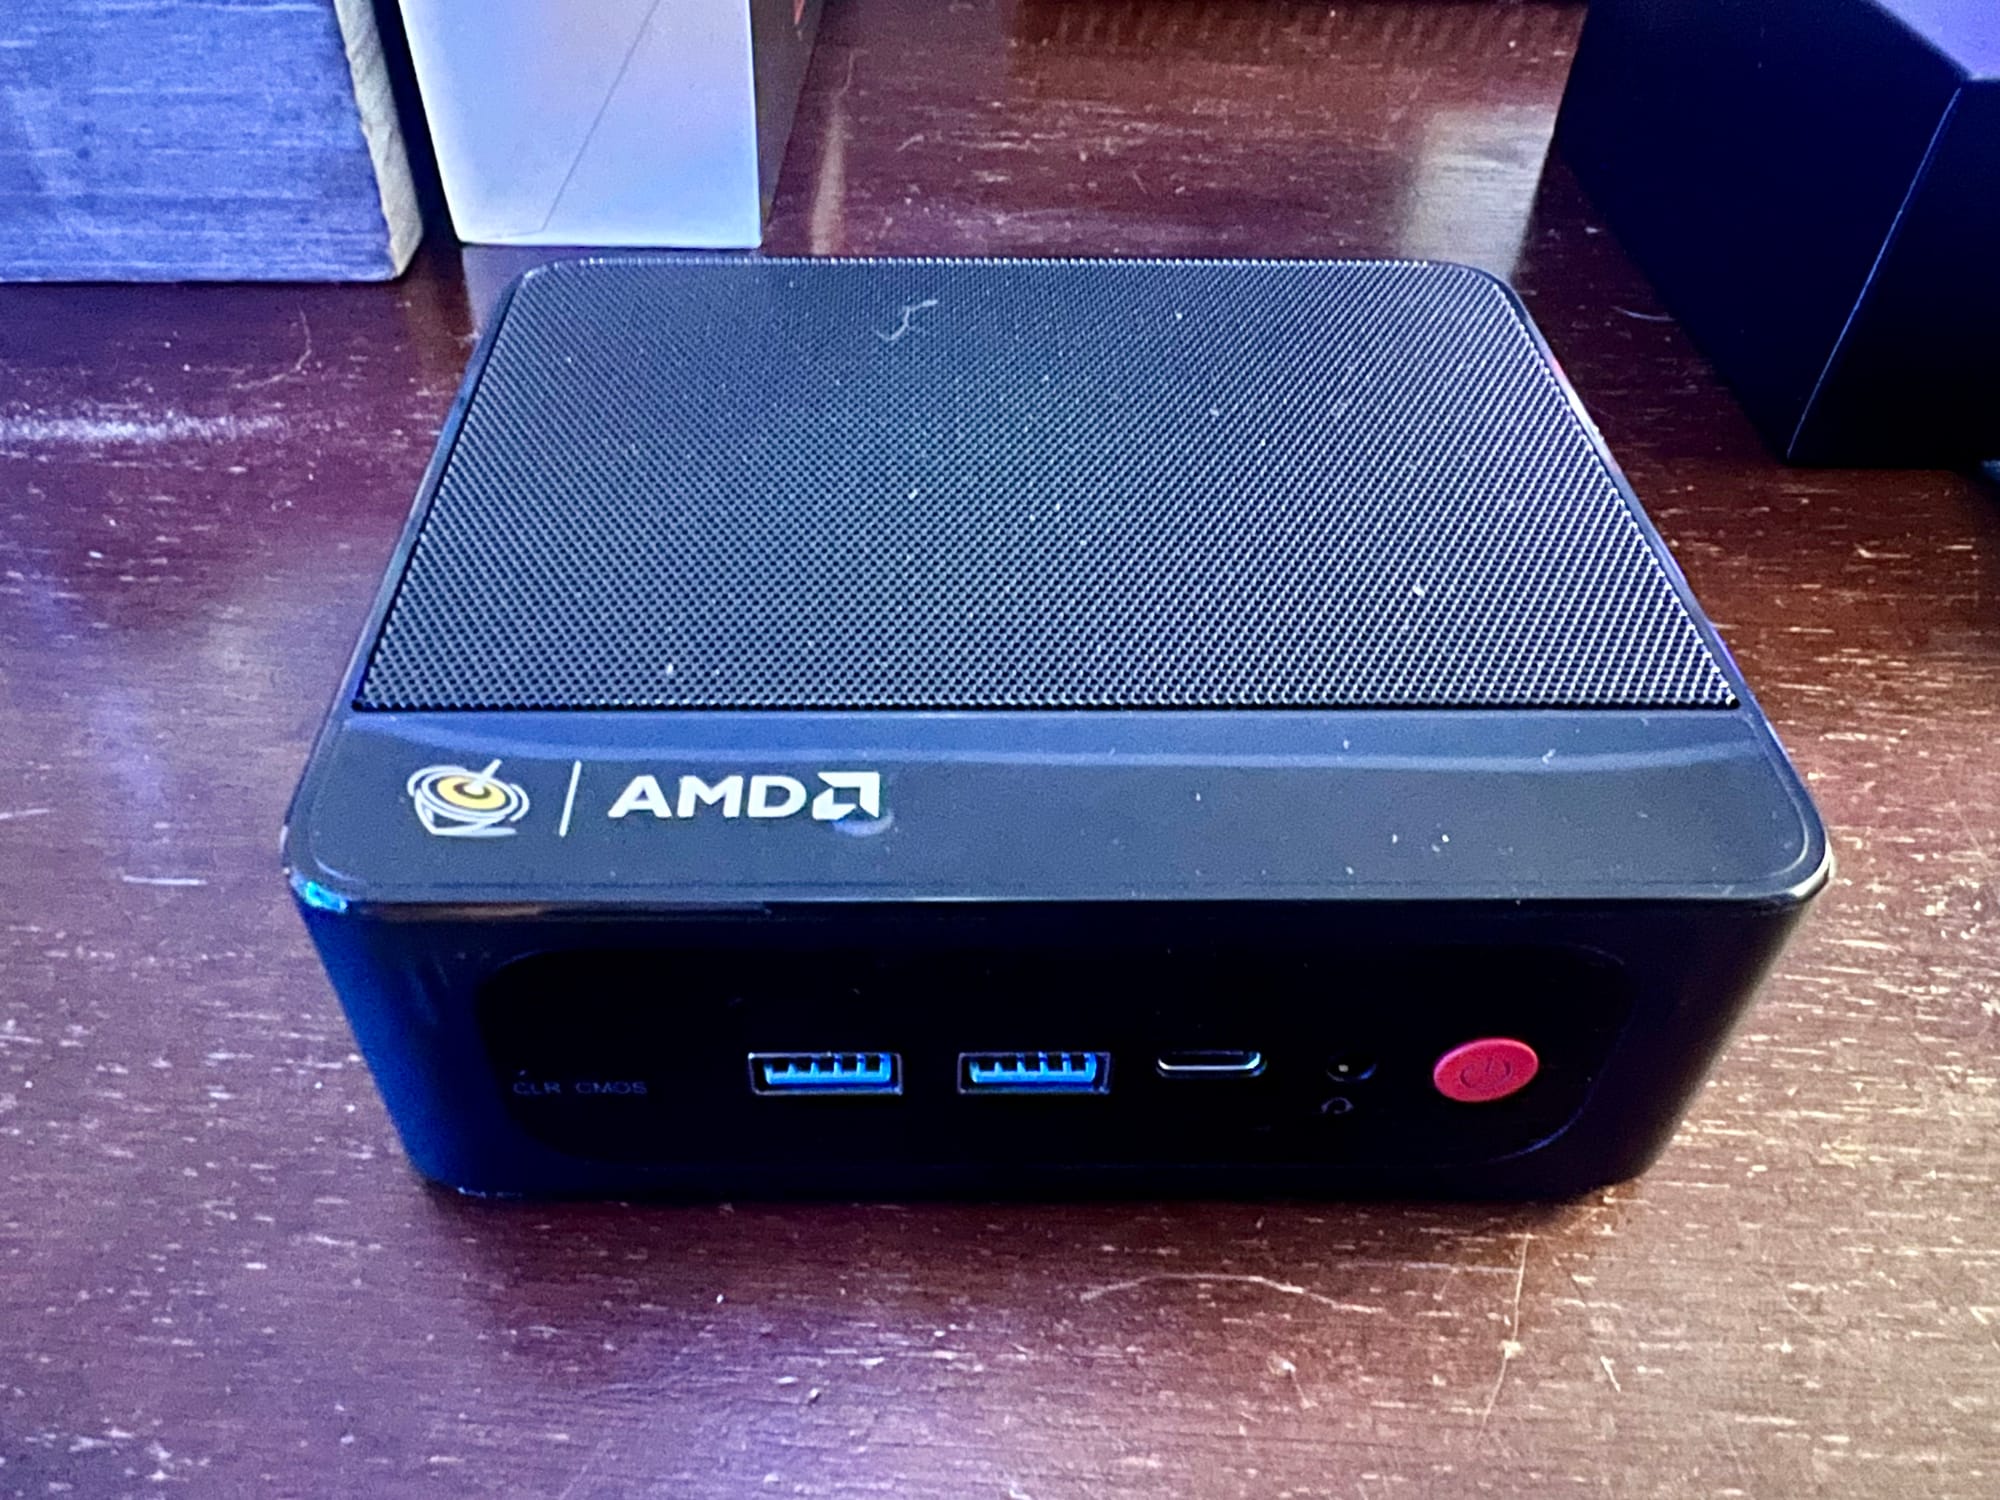
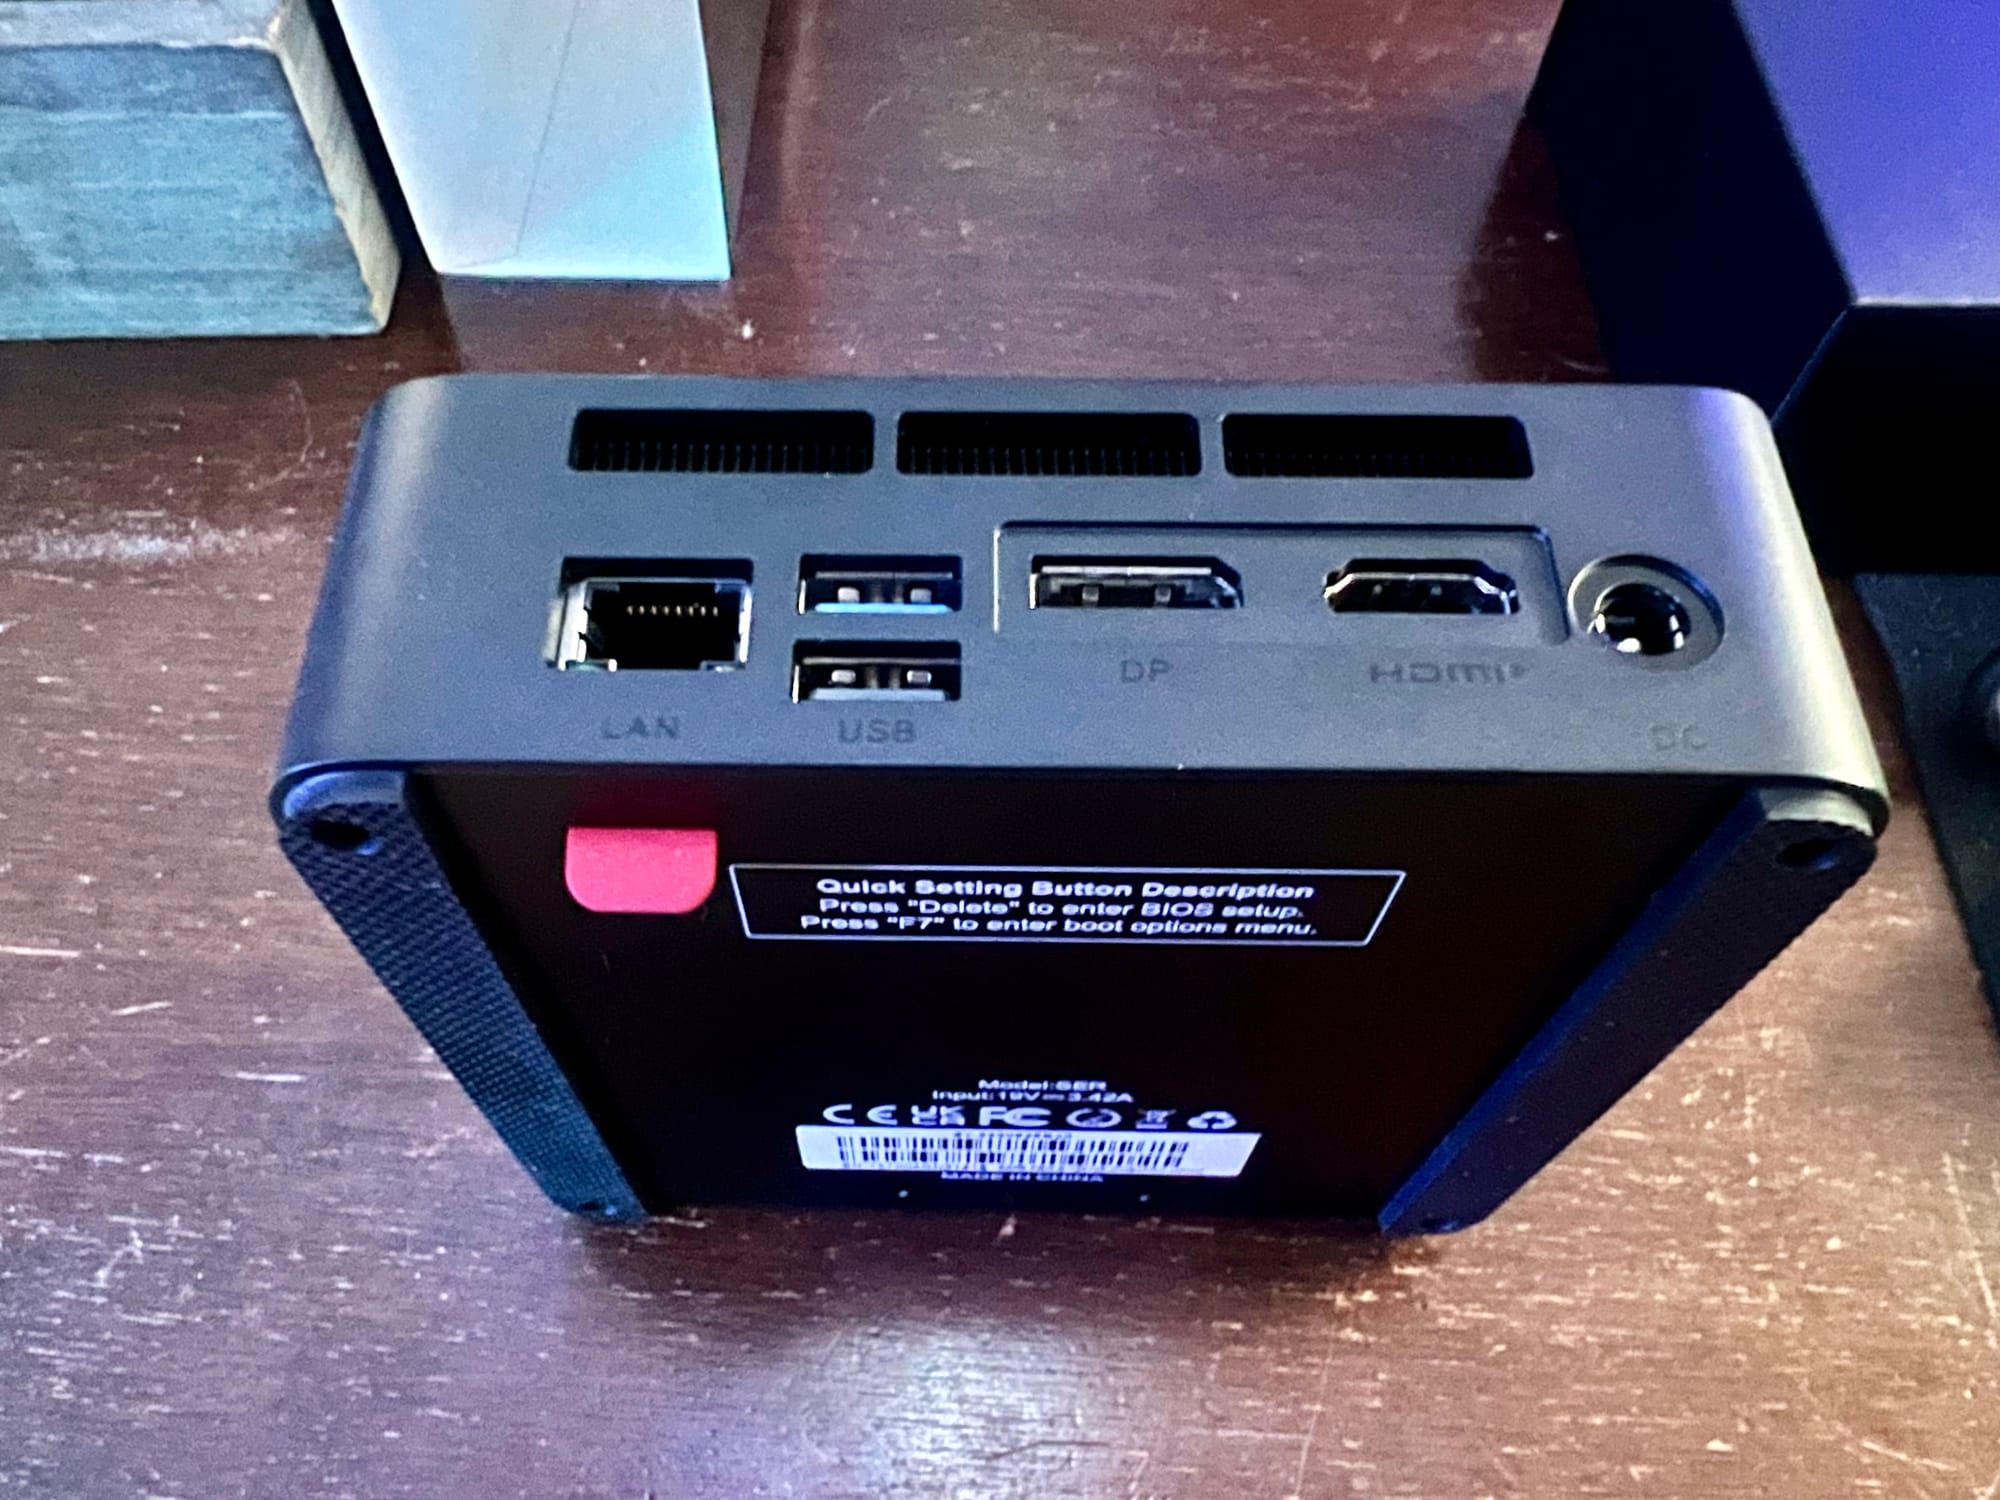
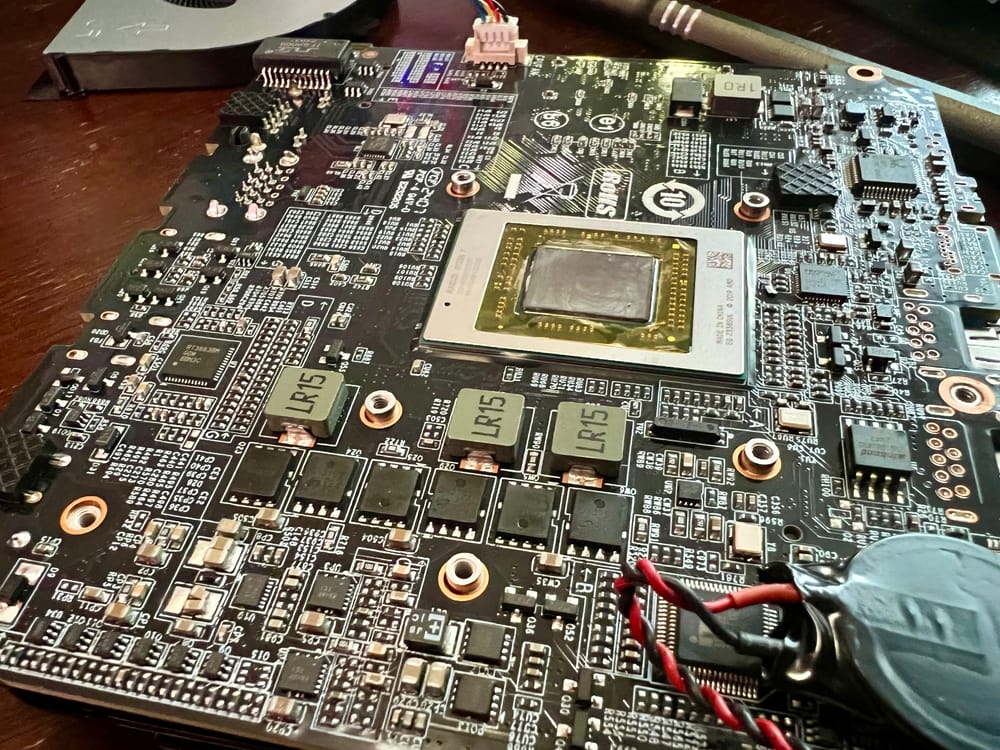
More Images of the SER5 5700U
When it comes to Beelink machines, it's no secret that the specs on their website can sometimes be a little unclear, leaving you with more questions than answers. That's why I decided to put together a gallery of pictures of the actual machine, just in case you're someone who needs to see things for themselves.
Hopefully, by sharing these images, I can help a fellow tech enthusiast out there solve a problem, or even help them make a more informed decision when it comes to their next Beelink purchase.